Beyond Basic Salt Water: Advanced Brining for Roast Chicken
Meat
|
March 15, 2026
Beyond Basic Salt Water is a craft that rewards patience and attention to detail. Whether you are a curious beginner or an experienced cook looking to refine your technique, understanding the fundamentals transforms ordinary ingredients into something remarkable. The journey from raw materials to finished dish involves specific steps that, once mastered, become second nature.
Why Brining Works
Muscle cells lose moisture during cooking, but salt changes the equation. Brining adds salt to cells, allowing them to hold onto water more effectively during cooking. The result: meat that stays juicy despite high heat. Without brine, you're fighting physics; with brine, you're working with it.
Dry Brine: The Modern Approach
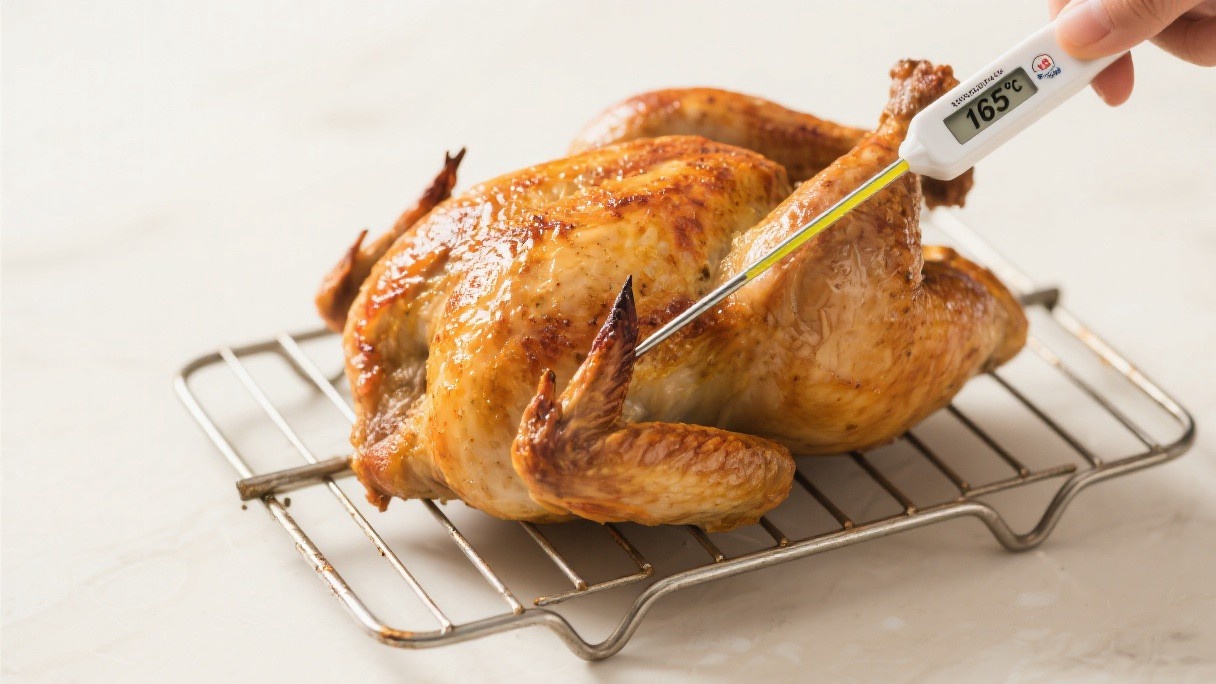
Dry brining eliminates messy buckets and produces superior skin crispiness. Rub salt (and optional sugar, spices) directly on chicken skin and refrigerate uncovered for 24-72 hours. The skin dries out, developing a shatteringly crisp exterior, while salt penetrates the meat. Use 1 teaspoon kosher salt per pound of chicken.
📷 Roast chicken with crispy golden skin
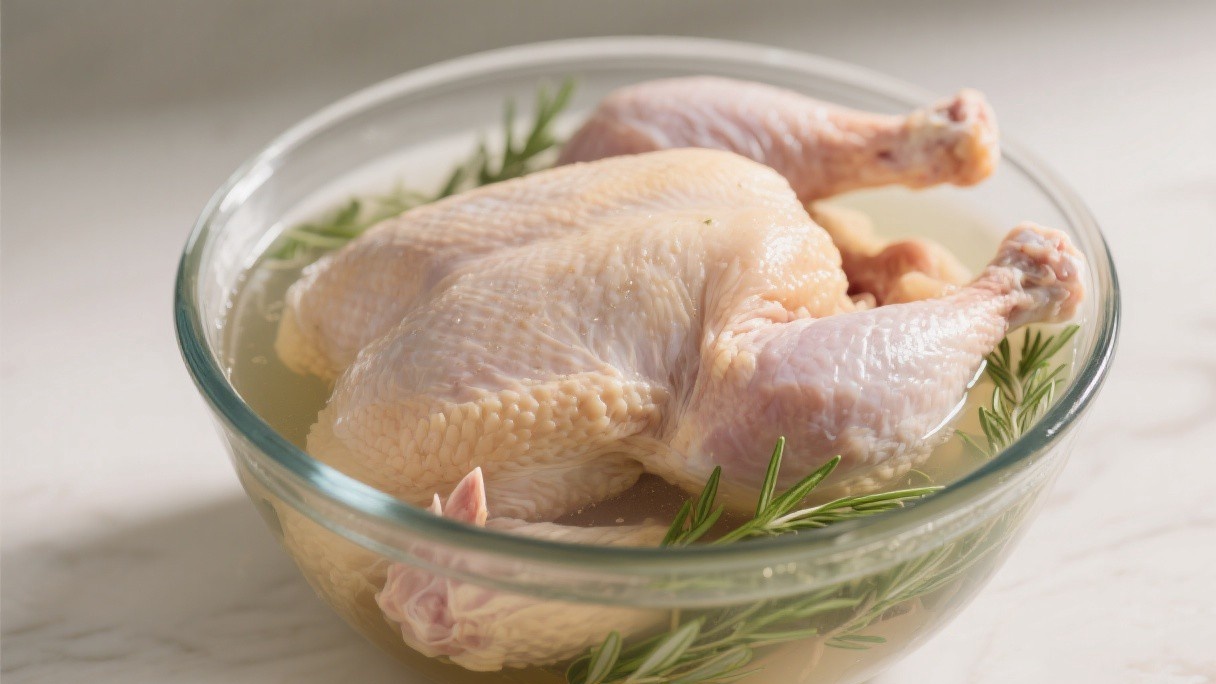
Wet Brine: Traditional Method
Wet brining submerges chicken in salt solution for 4-24 hours. The solution must be properly concentrated—about 1 cup kosher salt per gallon of water plus aromatics. Brine too long and meat becomes overly salty; too short and benefits are minimal. Rinse after brining only if the solution is too strong.
The Buttermilk Brine Advantage
Buttermilk brine adds enzymatic tenderizing to salt penetration. The culture and acid gently breaks down proteins, resulting in ultra-tender meat. Coat chicken in buttermilk brine (salt + buttermilk) for 24 hours, then proceed normally. The skin won't be quite as crispy, but the meat texture is noticeably more tender.
📷 Carving roast chicken
After brining, roast at high temperature (425°F) for the first 20 minutes to set the skin, then reduce to 375°F for the remainder. Let chicken rest 15 minutes before carving—this allows juices to redistribute, ensuring each slice is as juicy as the first.
Brine Variations
I developed several brine recipes—basic salt and sugar, buttermilk-based, and herb-infused versions. Each serves different purposes, creating different flavor profiles. The buttermilk brine remains my favorite for fried chicken.
Timing Precision
I brine for exactly the right time—too short and there's no effect; too long and the meat becomes ham-like. This precision comes from experience, from chickens that were under-brined and over-brined.
Wet Brine vs. Dry Brine
I have tried both wet and dry brining methods and found that both dramatically improve the moisture and flavor of roast chicken, but they work differently. A wet brine submerges the chicken in a saltwater solution, which penetrates the meat through osmosis and carries flavor compounds along with it.
A dry brine, essentially salting the chicken and letting it rest uncovered in the refrigerator, draws moisture to the surface, which then mixes with the salt to form a concentrated brine that is reabsorbed. I prefer dry brining for its simplicity and the superior crispy skin it produces.
Aromatics and Flavor Enhancements
Beyond salt, I incorporate aromatics that permeate the meat during the resting period. I tuck lemon zest, crushed garlic, fresh thyme, and bay leaves into the cavity to infuse the chicken from the inside. For wet brines, I add whole peppercorns, coriander seeds, and a splash of apple cider vinegar to create complexity. I also loosen the skin over the breast and thighs, rubbing softened butter mixed with herbs directly onto the meat beneath the skin.
This technique bastes the chicken from within as it roasts, producing exceptionally juicy, flavorful meat.
High-Heat Roasting Method
An alternative to traditional roasting, the high-heat method produces an exceptionally crispy skin and juicy meat in less time. The chicken is roasted at 450 to 500 degrees Fahrenheit for the entire cooking time, which rapidly renders the fat under the skin and creates a shatteringly crisp exterior. The breast reaches the target temperature before the legs, so the legs can be removed and returned to the oven while the breast rests.
This method requires a sturdy roasting pan and careful monitoring to prevent burning, but the results are dramatic. The high heat also promotes better Maillard browning, creating deeper, more complex flavors in the skin and surface meat.
Carving Technique for Perfect Presentation
Proper carving technique ensures every serving includes both crispy skin and juicy meat. Remove the legs first by cutting through the skin between the thigh and breast, then locating the joint and separating it with the knife. Separate the drumstick from the thigh by cutting through the joint. Remove each breast half by slicing along the breastbone, then cutting the breast into even slices against the grain. The wings can be removed and served alongside.
Using a sharp carving knife and a sturdy cutting board with a juice groove makes the process clean and efficient. Presenting the carved pieces on a warm platter with herbs creates an appealing centerpiece.
Leftover Chicken Strategies
A whole roasted chicken often yields more meat than needed for a single meal, and strategic use of leftovers maximizes the initial cooking effort. Shredded chicken from the breast and thighs can be used in tacos, salads, sandwiches, and soups throughout the week. The carcass and bones should be saved for homemade stock, which requires only water, aromatics, and a few hours of gentle simmering.
Chicken salad made with mayonnaise, celery, and herbs transforms leftover meat into a completely different meal. Even the crispy skin, if any remains, can be crumbled over salads or soups for a savory, crunchy garnish that adds flavor and texture.
Set realistic expectations for your first attempt and focus on learning rather than perfection. The techniques described here are forgiving by nature, so even missteps produce edible results. With each repetition, your timing improves, your palate sharpens, and your confidence grows.