Meat
March 24, 2026
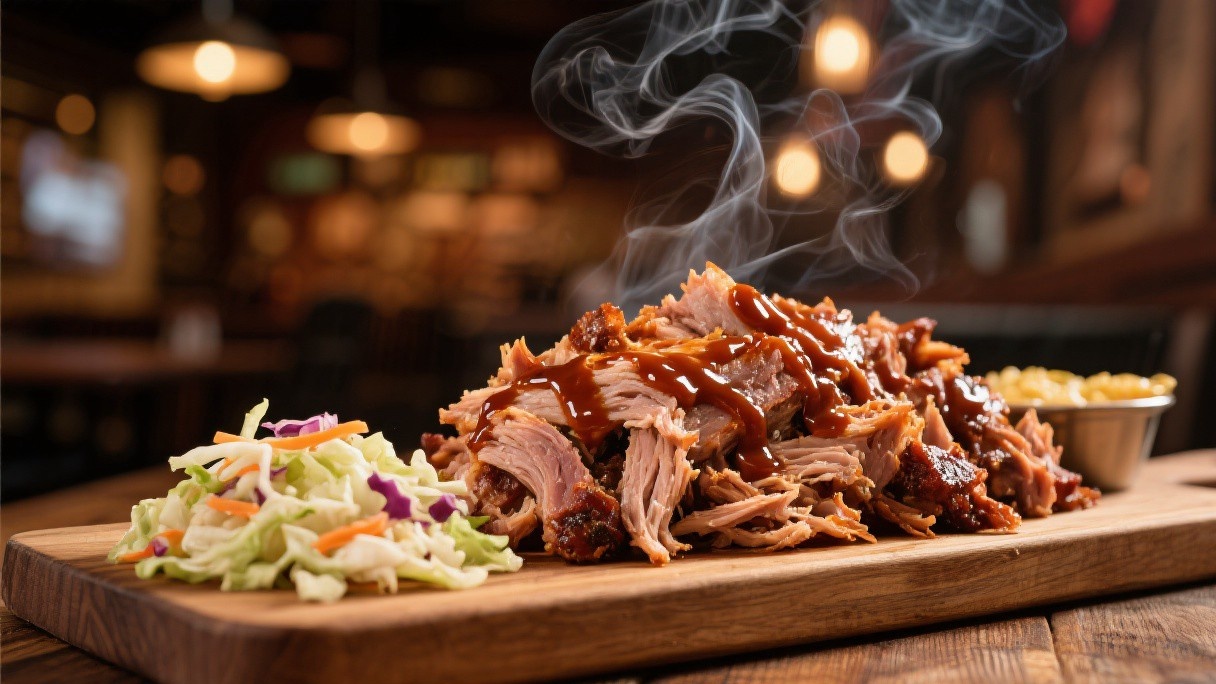
Low and Slow Mastery: Pulled Pork That Falls Apart
This comprehensive guide explores pulled pork that falls apart, providing detailed instructions and expert techniques for achieving professional-quality results at home. Key topics covered include the stall: why pork shoulder refuses to cooperate, the rub: foundation of flavor, wood and smoke, the pull. Somewhere between 145°F and 170°F, the internal temperature plateaus—sometimes for four hours or more. Moisture migrating toward the surface begins evaporating, creating a cooling effect that fights your smoker's heat. Cranking the temperature to push through is the most common beginner error: the exterior bark incinerates while the interior stays rubbery. Apply rub generously the night before and refrigerate uncovered—the dry surface improves bark formation. Fluctuations cause tough meat; steady temperature allows even collagen conversion. The Pull Pork is done at 195-205°F internal temperature, when collagen has fully converted and meat is fork-tender. Pull by hand for best texture—shreds should be uneven, with some chunky pieces for variety.
Read Details
March 23, 2026
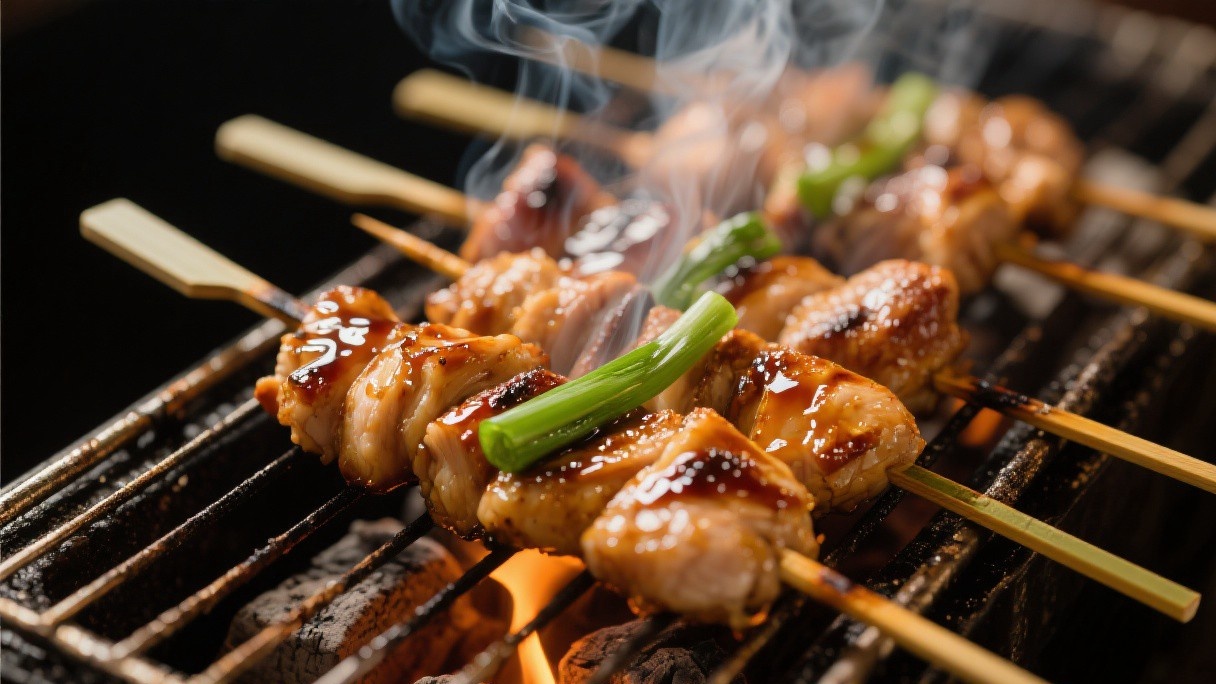
Japanese Yakitori: Skewered Chicken with Tare Glaze
This detailed article walks you through japanese yakitori, from fundamental principles to advanced techniques used by professionals. Key topics covered include cutting and skewering different parts, the tare glaze: soy, mirin, and sugar, binchotan charcoal and heat control, grilling technique and tare application. I have eaten yakitori at dozens of yakitori-ya in Tokyo, and the best ones share common traits: the chicken is cooked through but still juicy, the skin is crisp and blistered, and the tare, the sweet-savory glaze, is applied in multiple thin layers that build a complex, caramelized coating. The quality of the charcoal, the cut of the chicken, and the timing of the tare application all contribute to the final result. Cutting and Skewering Different Parts Yakitori uses every part of the chicken, and each part is skewered and cooked differently.
Read Details
March 22, 2026
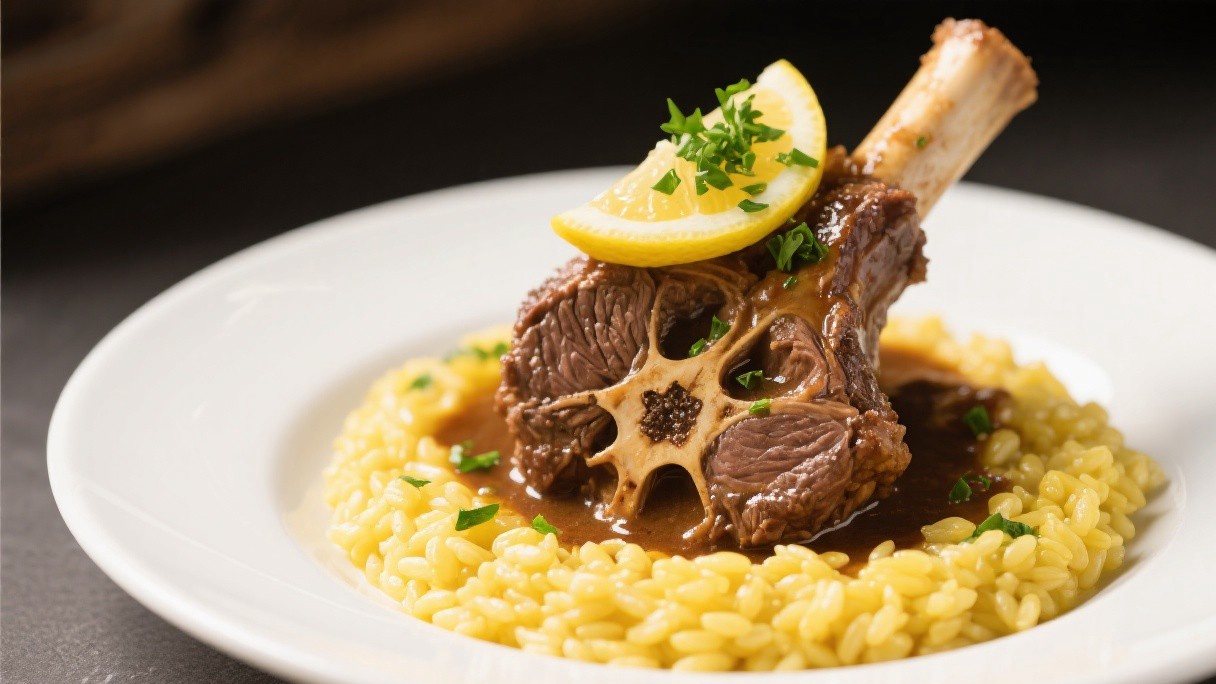
Italian Ossobuco: Braised Veal Shanks with Gremolata
Learn how to master italian ossobuco with step-by-step instructions designed for home cooks seeking restaurant-quality results. Key topics covered include selecting and preparing the veal shanks, browning and building the braising liquid, braising time and temperature, preparing the gremolata. I have braised dozens of ossobuco over the years, and the technique rewards patience above all else. The shanks must be browned thoroughly before braising, and the braising liquid must be maintained at a bare simmer for the entire cooking time. Rushing any step produces tough, stringy meat rather than the meltingly tender result that makes this dish extraordinary. Browning and Building the Braising Liquid I heat 2 tablespoons of neutral oil and 1 tablespoon of butter in a heavy-bottomed Dutch oven over medium-high heat until the butter is foaming. I brown the shanks, two at a time to avoid crowding, for 4 to 5 minutes per side until they develop a deep, golden-brown crust.
Read Details
March 21, 2026
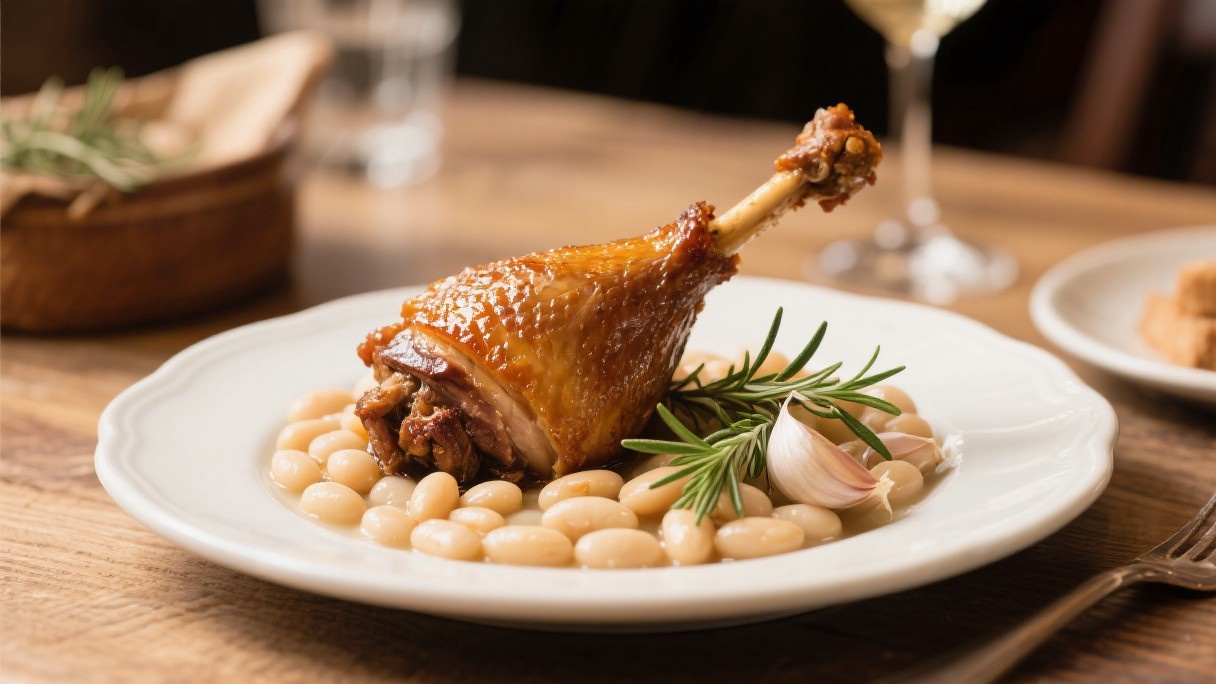
French Confit: Duck Legs Slow-Cooked in Their Own Fat
Master the art of french confit with this comprehensive guide featuring expert tips, essential techniques, and practical advice. Key topics covered include curing the duck legs with salt and herbs, rendering duck fat, the slow cooking process, storing in fat for extended keeping. The result is meat that is extraordinarily tender, with a texture that is almost gelatinous, and a flavor that is deeply savory and rich. I make duck confit several times a year, and each batch yields legs that I can store in the refrigerator for weeks or in the freezer for months, ready to be crisped and served at a moment's notice. Curing the Duck Legs with Salt and Herbs I use whole duck legs, about 300 to 350 grams each, with the skin on.
Read Details
March 20, 2026
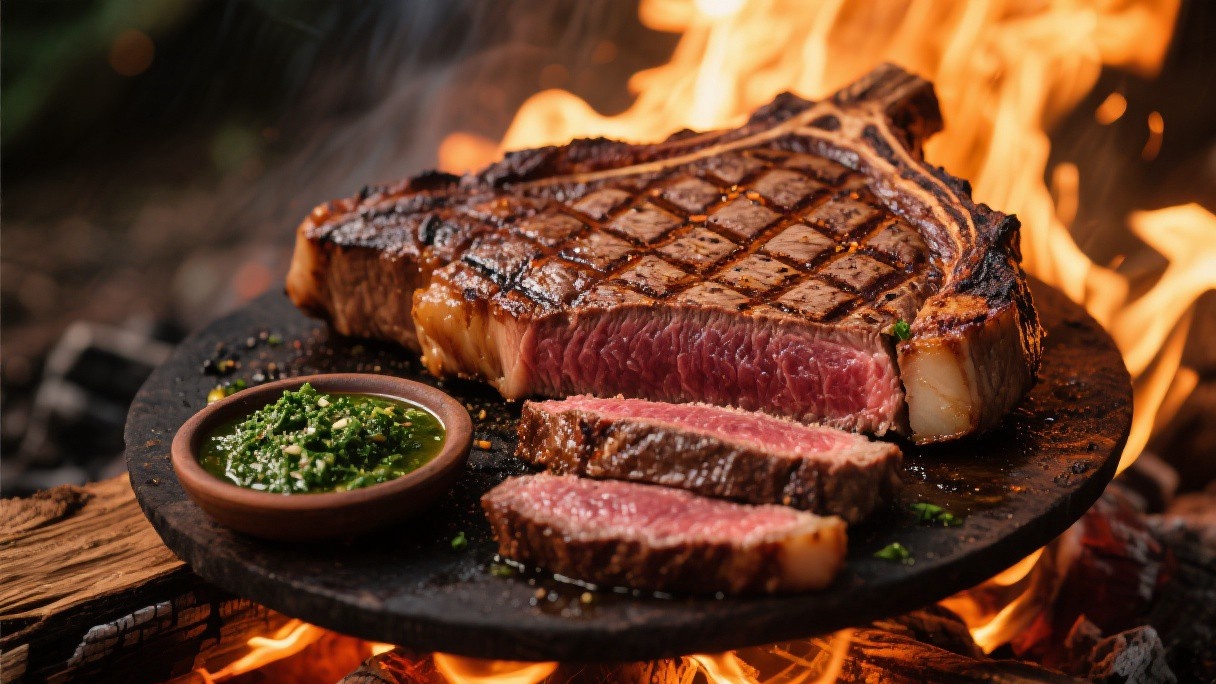
Argentine Asado: Whole Ribeye Grilled Over Wood Embers
This comprehensive guide explores argentine asado, providing detailed instructions and expert techniques for achieving professional-quality results at home. Key topics covered include building the fire with hardwood, preparing and seasoning the ribeye, the grill setup and heat zones, temperature monitoring and resting. The meat, typically a whole ribeye, called asado de tira, or a thick-cut rib roast, called tira de asado, is cooked over a wood fire that has burned down to embers. The heat is gentle and consistent, and the smoke from the wood imparts a flavor that cannot be replicated with gas or charcoal briquettes. The patience required is considerable, but the result is meat that is cooked evenly from edge to edge with a deep, smoky crust.
Read Details
March 19, 2026
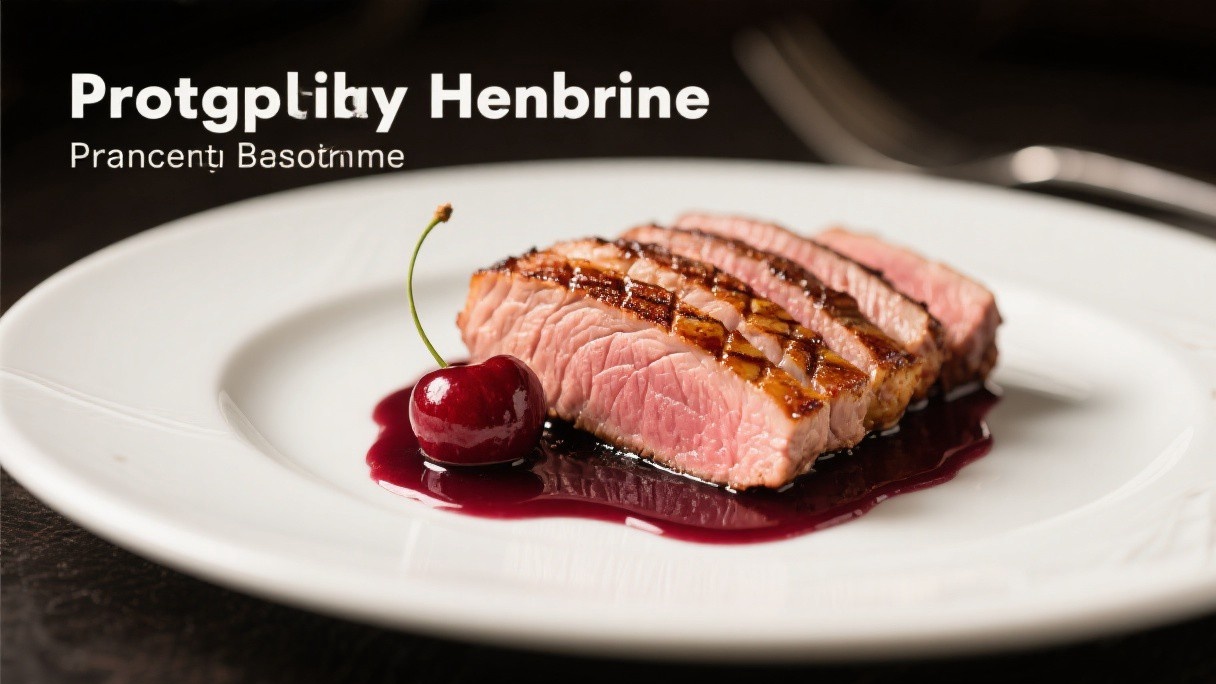
Crispy Skin Perfection: Mastering Duck Breast Technique
Master the art of mastering duck breast technique with this comprehensive guide featuring expert tips, essential techniques, and practical advice. Key topics covered include the scoring secret, dry and cold, the pan technique, the flip and finish. Use a sharp knife and score in a crosshatch pattern, spacing cuts about 1/2 inch apart. Dry and Cold Moisture prevents browning, so dry the scored duck breast thoroughly with paper towels. Refrigerate uncovered overnight on a rack—the air circulation further dries the skin. The Flip and Finish When skin is deep mahogany and crispy, flip and cook meat-side for just 2-3 minutes for medium-rare. Rest 5-10 minutes—the carryover cooking brings it to perfect 135-140°F medium-rare. Use it to roast potatoes, confit garlic, or sauté vegetables. The byproduct of cooking duck elevates everything it touches—making duck remarkably efficient proteins in the kitchen. Score Pattern I developed a diamond scoring pattern that renders fat evenly while creating attractive presentation.
Read Details
March 19, 2026
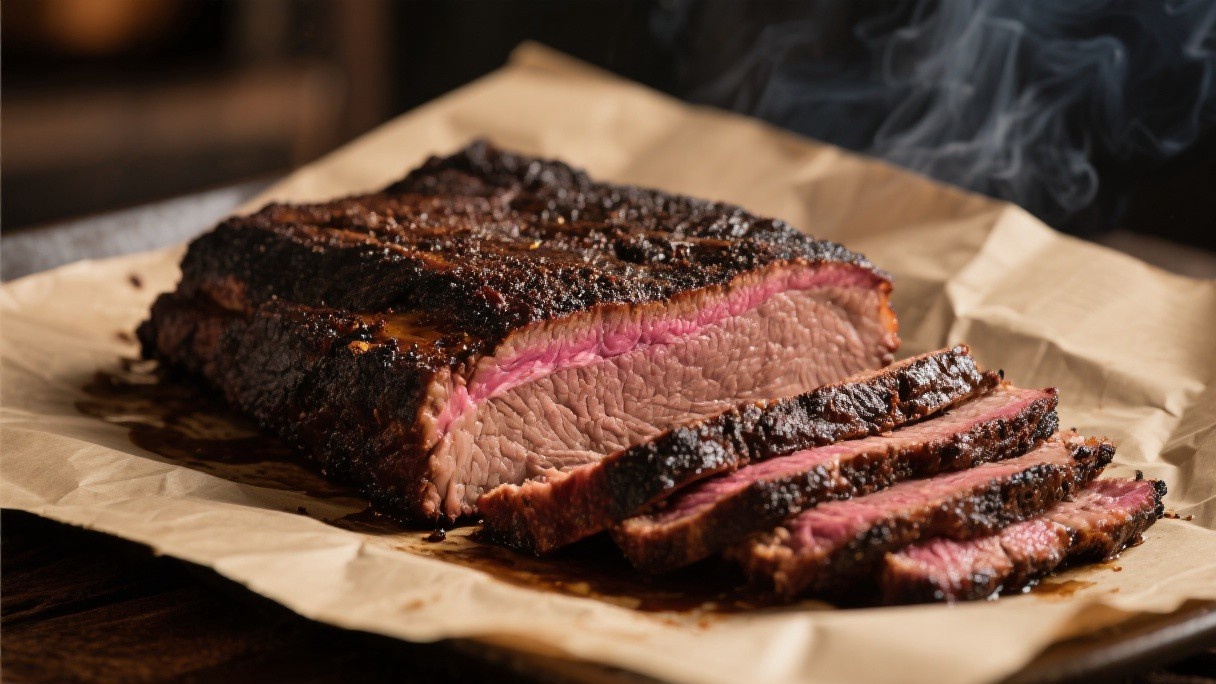
The Brisket Blueprint: Texas-Style Smoking Fundamentals
Master the art of texas-style smoking fundamentals with this comprehensive guide featuring expert tips, essential techniques, and practical advice. Key topics covered include the trim: critical foundation, the smoke ring: fact and fiction, the stall: brisket's most infamous test of patience, the probe test. The Trim: Critical Foundation Texas-style brisket starts with aggressive trimming. This fat bastes the meat during the long cook, keeping it moist despite 12-16 hours of smoking. The Smoke Ring: Fact and Fiction The pink smoke ring beneath the bark isn't just aesthetic—it's evidence of proper technique. The ring develops in the first few hours; if you don't see it by hour 4, adjust your fire. When the internal temperature reaches the 150-170°F range, moisture begins pooling beneath the surface fat cap, and evaporation creates a cooling barrier that stalls the temperature climb for three to six hours.
Read Details
March 18, 2026
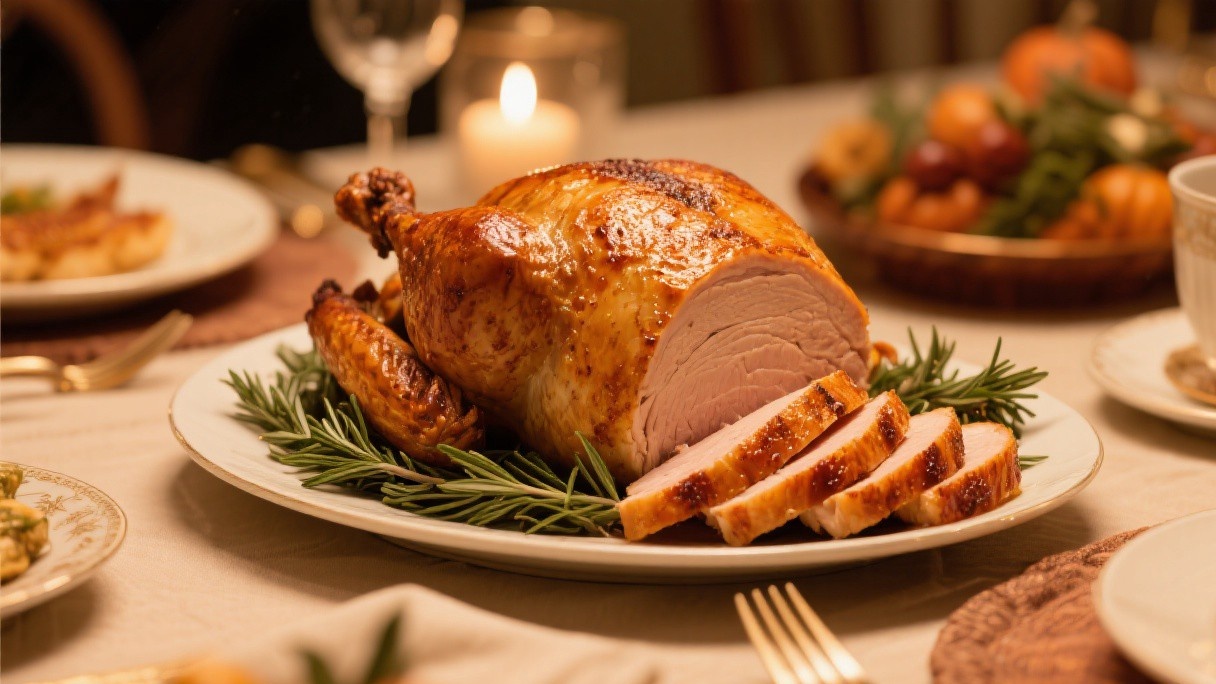
Precision Timing: The Science of Perfect Turkey Roasting
This detailed article walks you through the science of perfect turkey roasting, from fundamental principles to advanced techniques used by professionals. Key topics covered include temperature: the only reliable method, the rest period, spatchcock: the modern solution, branine for moisture. Temperature: The Only Reliable Method Time-based recipes are lies. Oven temperatures vary, turkey sizes differ, and carryover cooking defies predictions. Breast should reach 150°F (resting brings it to safe 165°F); thigh should reach 175°F for proper tender dark meat. The entire turkey cooks at the same rate when flattened, and the exposure to oven heat is more uniform. Spatchcocked turkey roasts in about 60-75 minutes total and has incredibly crispy skin because it lays flat. Branine for Moisture Brined turkey is supremely juicy; unbrined turkey is notoriously dry. Wet brine (salt water with aromatics) for 24-48 hours, or dry brine for 2-3 days.
Read Details

March 18, 2026
Tender and True: The Science of Perfect Meatball Texture
Discover the complete process of the science of perfect meatball texture with this in-depth guide covering essential techniques, key ingredients, and professional secrets. Key topics covered include the fat question, binder fundamentals, avoiding dense errors, cooking methods. The Fat Question Fat equals flavor and moisture, but too much makes meatballs greasy and unable to hold shape. Bread soaked in milk (panade) is the traditional Italian binder—creates tender texture. Both work together; using both (one egg and small amount of panade) yields superior results. Adding ice water to the mixture creates steam pockets during cooking, resulting in tender texture. Cooking Methods Brown meatballs in oven (400°F, 20 minutes) for consistent browning without babysitting a pan. Alternatively, brown first in batches in a skillet, then simmer in sauce. Never boil sauce vigorously—it can break delicate meatballs apart. Leftover meatballs reheated in sauce taste even better as flavors meld.
Read Details
March 17, 2026
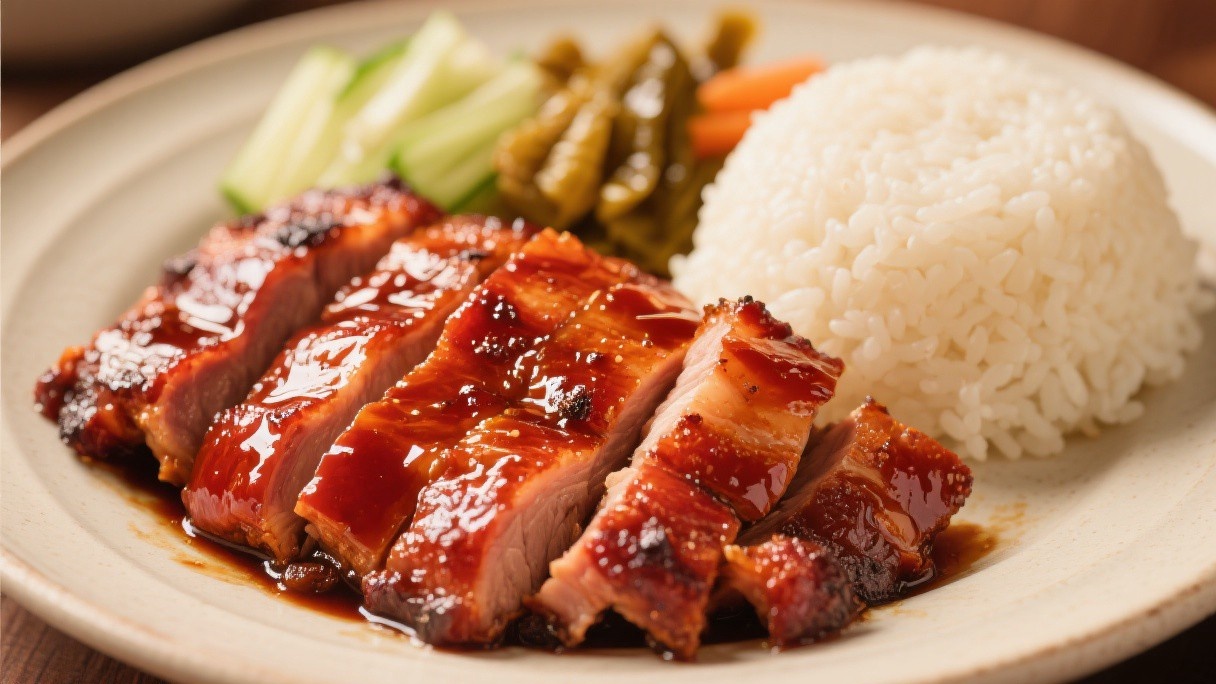
Chinese Char Siu: Cantonese Roast Pork with Maltose Glaze
Learn how to master chinese char siu with step-by-step instructions designed for home cooks seeking restaurant-quality results. Key topics covered include choosing the right cut of pork, the marinade: fermented bean curd and five spice, high-heat roasting technique, the maltose glaze application. I have spent considerable time refining my char siu technique, and the two elements that make the biggest difference are the cut of meat and the application of the maltose glaze during the final minutes of roasting. Choosing the Right Cut of Pork The best cut for char siu is pork shoulder, specifically the portion known as pork butt or Boston butt, cut into long strips about 5 centimeters wide and 2 centimeters thick. The shoulder has enough fat to stay moist during the high-heat roasting process and enough connective tissue to develop a tender, slightly chewy texture.
Read Details
March 16, 2026
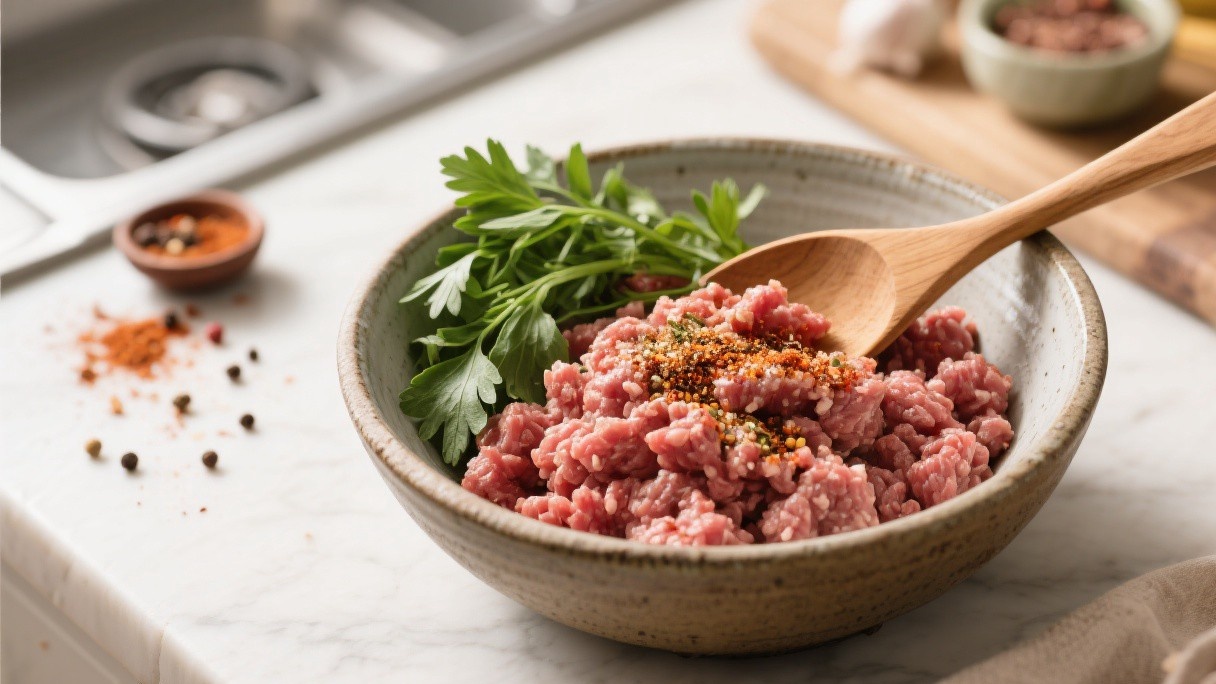
Flavor Foundations: Essential Ground Meat Seasoning Blends
Learn how to master essential ground meat seasoning blends with step-by-step instructions designed for home cooks seeking restaurant-quality results. Key topics covered include salt: the non-negotiable, building base seasoning, the umami boost, binding and texture. Salt: The Non-Negotiable Salt doesn't just add flavor—it enhances perception of other flavors. For meatballs: add salt to the meat mixture, but also salt the pan when browning. Building Base Seasoning The foundation for most ground meat seasoning: salt, black pepper, garlic (powder or fresh), and onion (powder or fresh). For ground meat: Worcestershire sauce (2 teaspoons per pound), fish sauce (small amount adds depth without fishy flavor), anchovy paste, or Parmesan cheese (for Italian applications). These ingredients make people want to keep eating, not because of spiciness or sweetness but because of fundamental savoriness. Binding and Texture Seasoning blends affect more than taste—they impact texture too.
Read Details
March 16, 2026
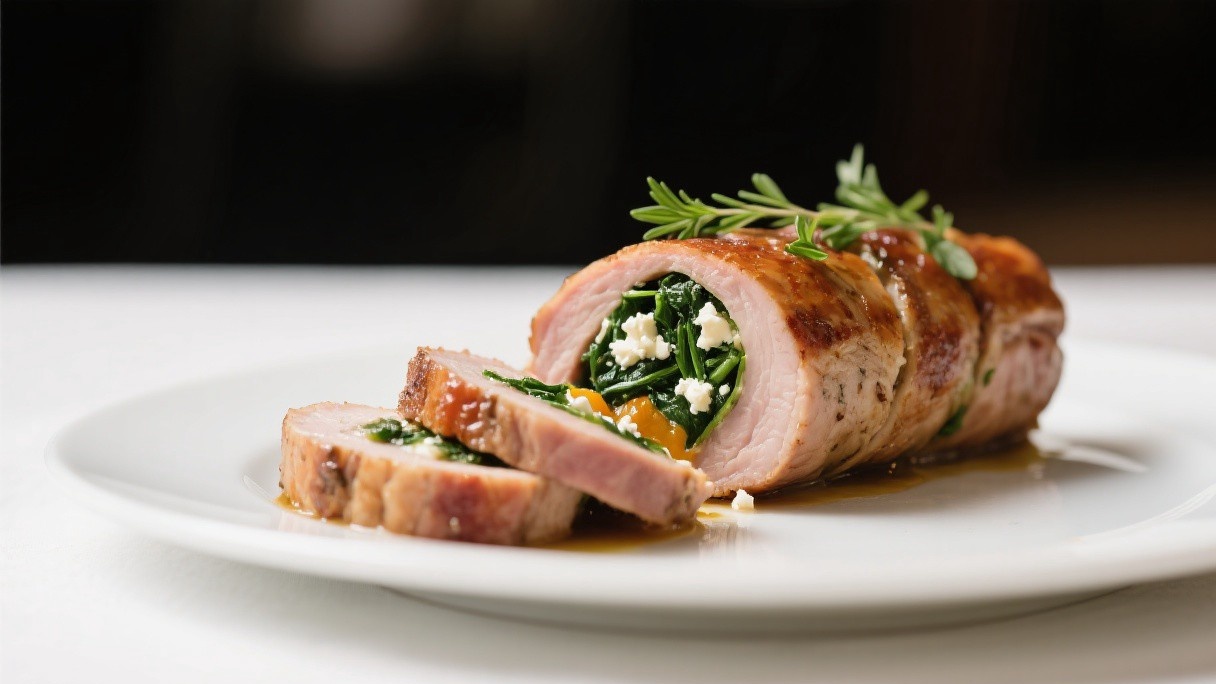
Stuffed and Spectacular: Creative Pork Tenderloin Fillings
Master the art of creative pork tenderloin fillings with this comprehensive guide featuring expert tips, essential techniques, and practical advice. Key topics covered include butterflying: the foundation, spinach and artichoke stuffing, dried fruit and nut stuffing, mushroom and gruyère. Place the tenderloin flat, hold knife parallel to cutting board, and slice horizontally, leaving 1/4 inch uncut at the far edge. Spinach and Artichoke Stuffing Sauté spinach and garlic until wilted, mix with cream cheese, artichoke hearts, and feta. Season pork with salt and pepper, spread stuffing, roll tightly from narrow end, and tie with kitchen twine at 1-inch intervals. Mushroom and Gruyère Sauté mixed mushrooms (cremini, shiitake, oyster) with shallots and thyme until all moisture evaporates. The mushrooms add umami depth while Gruyère provides creamy pockets that melt beautifully. Remove twine carefully, slice into 1-inch medallions, and arrange on plates with pan sauce.
Read Details
March 15, 2026
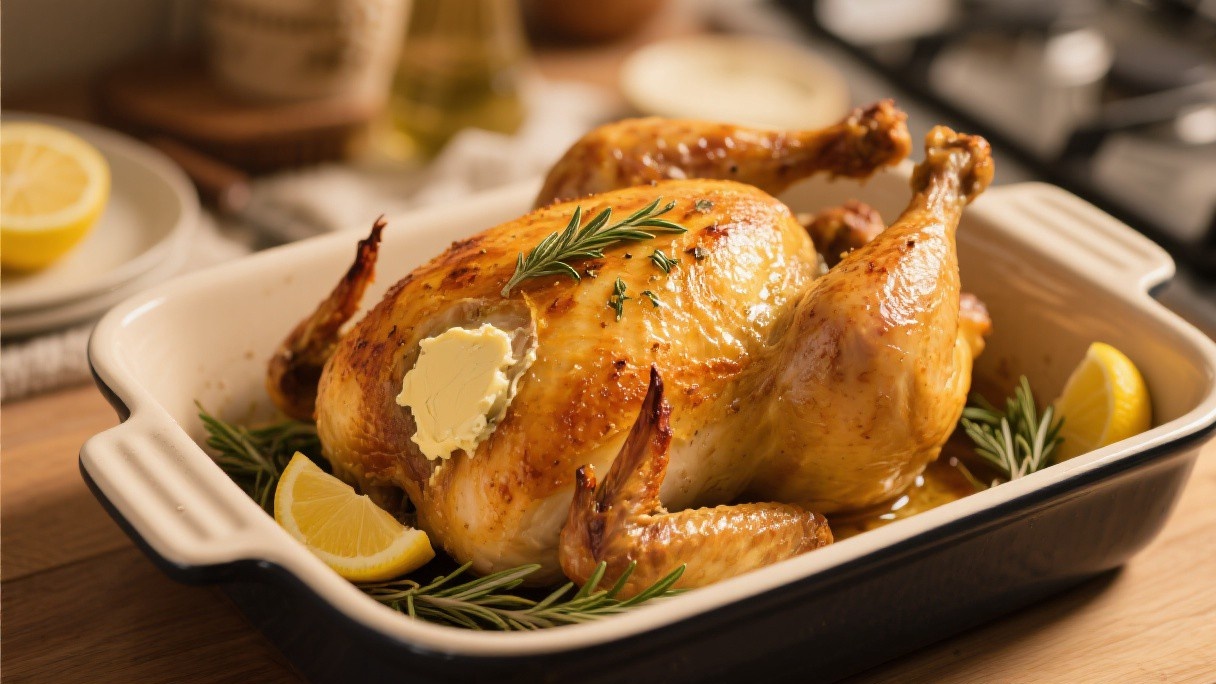
Beyond Basic Salt Water: Advanced Brining for Roast Chicken
This comprehensive guide explores salt water, providing detailed instructions and expert techniques for achieving professional-quality results at home. Key topics covered include why brining works, dry brine: the modern approach, wet brine: traditional method, the buttermilk brine advantage. Brining adds salt to cells, allowing them to hold onto water more effectively during cooking. Dry Brine: The Modern Approach Dry brining eliminates messy buckets and produces superior skin crispiness. Rub salt (and optional sugar, spices) directly on chicken skin and refrigerate uncovered for 24-72 hours. Brine too long and meat becomes overly salty; too short and benefits are minimal. The Buttermilk Brine Advantage Buttermilk brine adds enzymatic tenderizing to salt penetration. The culture and acid gently breaks down proteins, resulting in ultra-tender meat. Coat chicken in buttermilk brine (salt + buttermilk) for 24 hours, then proceed normally. The skin won't be quite as crispy, but the meat texture is noticeably more tender.
Read Details
March 13, 2026
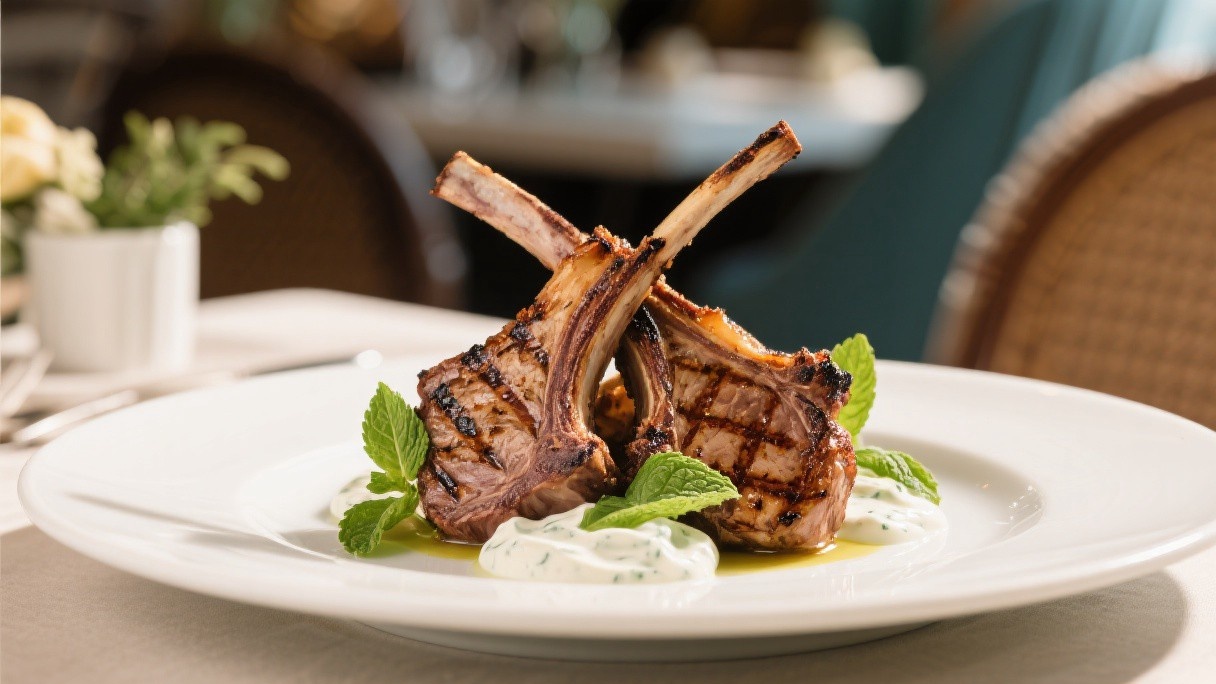
Mediterranean to Moroccan: Lamb Chop Marinades That Transform
Master the art of lamb chop marinades that transform with this comprehensive guide featuring expert tips, essential techniques, and practical advice. Key topics covered include mediterranean: olive oil and herbs, north african: spice-forward approach, indian: yogurt as tenderizer, american southwest: smoky and sweet. Mediterranean: Olive Oil and Herbs Greek lamb marinade combines olive oil, lemon, oregano, garlic, and rosemary. Marinate 2-4 hours maximum—longer and the acid toughens rather than tenderizes. Grill over high heat for medium-rare, about 3-4 minutes per side for loin chops. The culture in yogurt breaks down proteins, resulting in melt-in-mouth texture. Garam masala, ginger, garlic, and yogurt create aromatic, tender lamb. Marinate overnight—the yogurt protects the meat from overcooking while flavors penetrate deeply. American Southwest: Smoky and Sweet Southwestern marinades balance smoke and sweetness: chipotle, adobo, lime, honey, and cumin. The acid and enzymes work together for both tenderizing and flavor.
Read Details
March 12, 2026
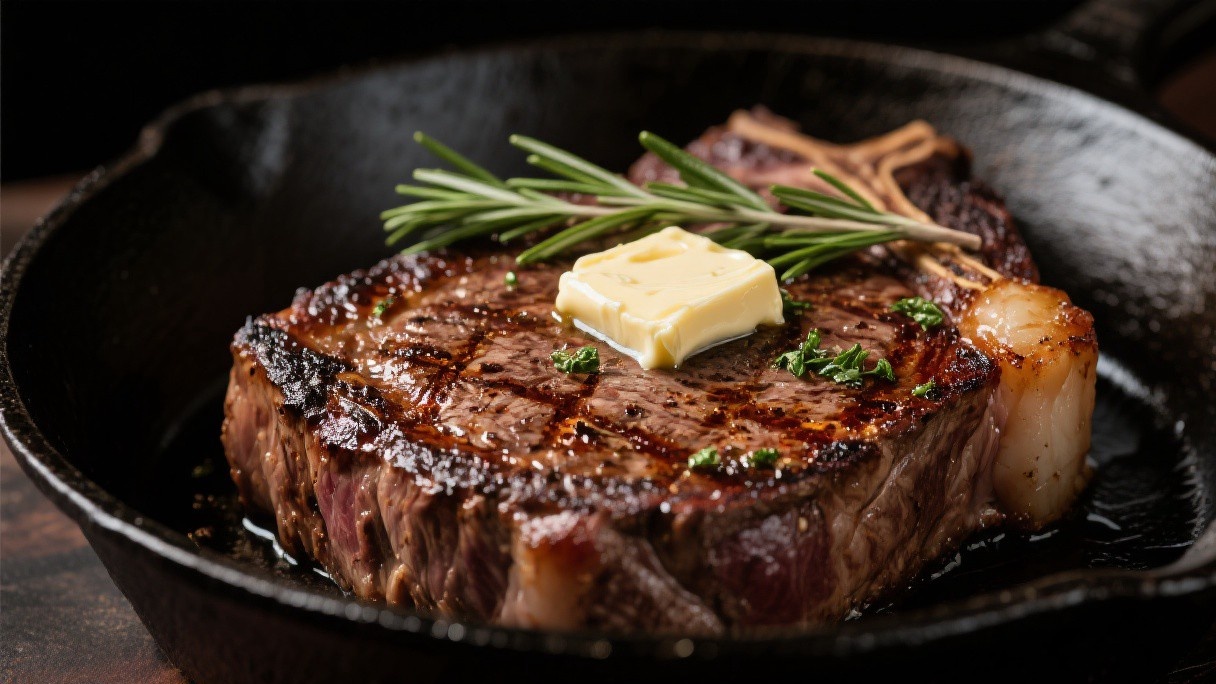
The Maillard Mastery: Restaurant-Quality Steak Searing at Home
Master the art of restaurant-quality steak searing at home with this comprehensive guide featuring expert tips, essential techniques, and practical advice. Key topics covered include the maillard reaction essentials, cast iron: non-negotiable, the flip once myth, butter basting: the finishing touch. The Maillard Reaction Essentials The Maillard reaction requires temperatures above 280°F and dry surfaces. Salt draw moisture to the surface, so pat steak completely dry before cooking, and season only just before hitting the pan. The surface must be screaming hot—water should dance and evaporate instantly on contact. Research proves otherwise—flipping every 2-3 minutes creates more uniform doneness and equally brown crusts. Each side gets multiple heat exposures, preventing gradient issues where one side is overcooked while the other remains underdone. Butter Basting: The Finishing Touch For the final 2 minutes, add butter, garlic, and herbs to the pan.
Read Details
March 12, 2026
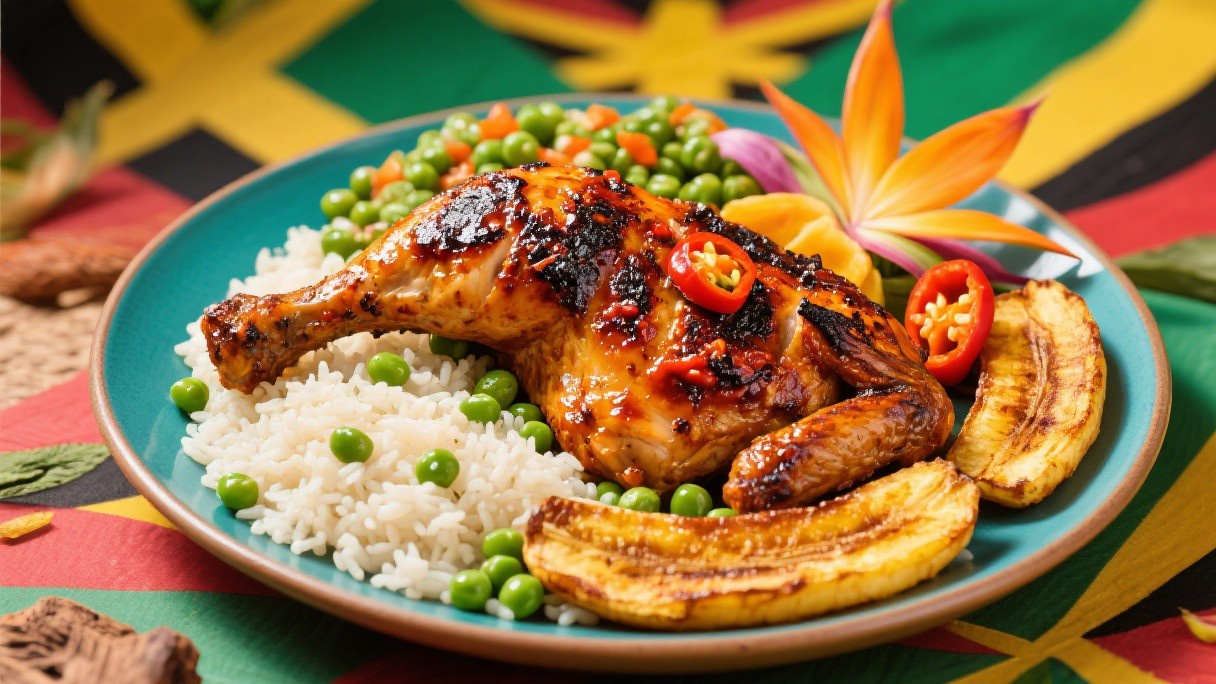
Jamaican Jerk Chicken: Scotch Bonnet Marinade and Slow Smoking
Learn how to master jamaican jerk chicken with step-by-step instructions designed for home cooks seeking restaurant-quality results. Key topics covered include the jerk marinade: scotch bonnet and allspice, marinating time and coverage, setting up the smoker with pimento wood, slow smoking and finishing over direct heat. Recreating that experience at home requires a wet marinade made from scratch, a long marinating time, and a cooking method that combines indirect heat with wood smoke. The Jerk Marinade: Scotch Bonnet and Allspice The marinade, or jerk paste, is built on a foundation of scotch bonnet peppers and allspice berries, also called pimento in Jamaica. For 2 kilograms of chicken pieces, I blend 8 to 10 scotch bonnet peppers, seeded if I want moderate heat or left whole for maximum intensity, with 2 tablespoons of whole allspice berries, 1 tablespoon of black peppercorns, 4 cloves of garlic, 1 tablespoon of grated fresh ginger, 3 scallions chopped, 2 tablespoons of thyme leaves, 1 tablespoon of dark brown sugar, 2 tablespoons of soy sauce, 2 tablespoons of lime juice, 1 tablespoon of vegetable oil, and 1 teaspoon of ground cinnamon.
Read Details
March 11, 2026
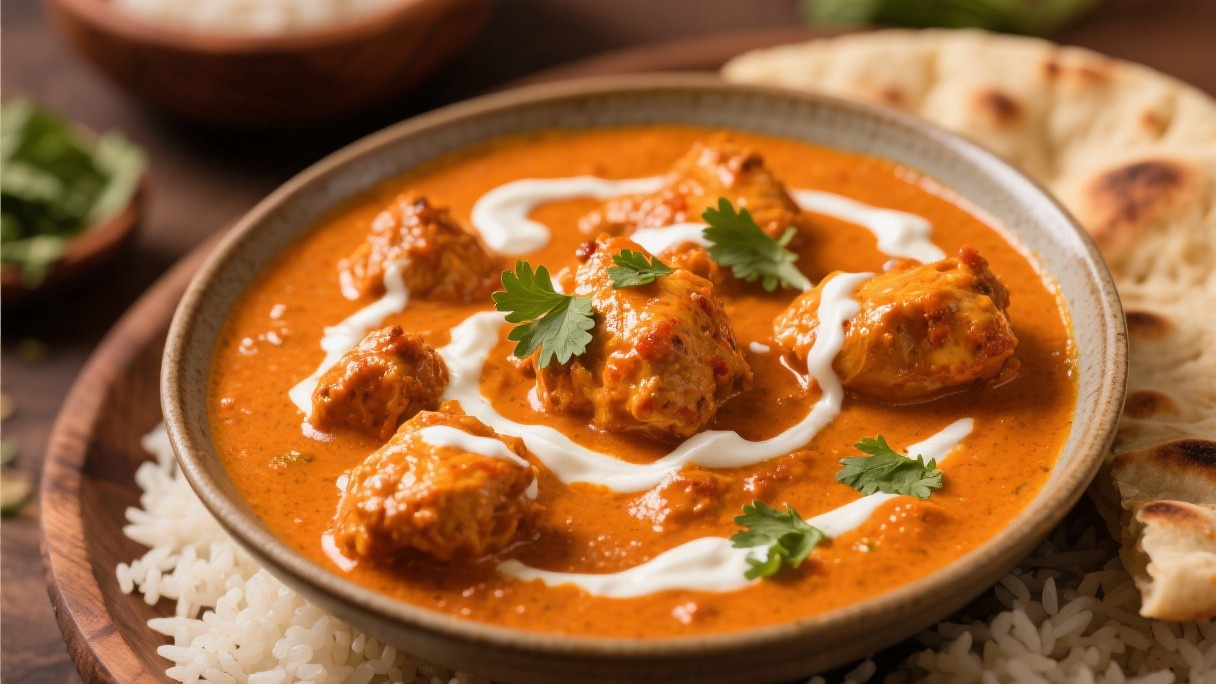
Indian Butter Chicken: Tandoori Marinade and Tomato Cream Sauce
Discover the complete process of indian butter chicken with this in-depth guide covering essential techniques, key ingredients, and professional secrets. Key topics covered include the tandoori marinade, grilling for the charred flavor, building the tomato cream sauce, combining and finishing. I make butter chicken at home using a two-part process: first, marinating and grilling the chicken to develop the smoky char, and second, building the sauce from scratch using whole spices, tomatoes, and cream. The result is a dish that is richer and more complex than most restaurant versions, where the sauce is often thinned with too much cream and lacks the depth that comes from proper spice blooming. The Tandoori Marinade I use 1 kilogram of boneless chicken thighs, cut into 4-centimeter pieces.
Read Details
March 10, 2026
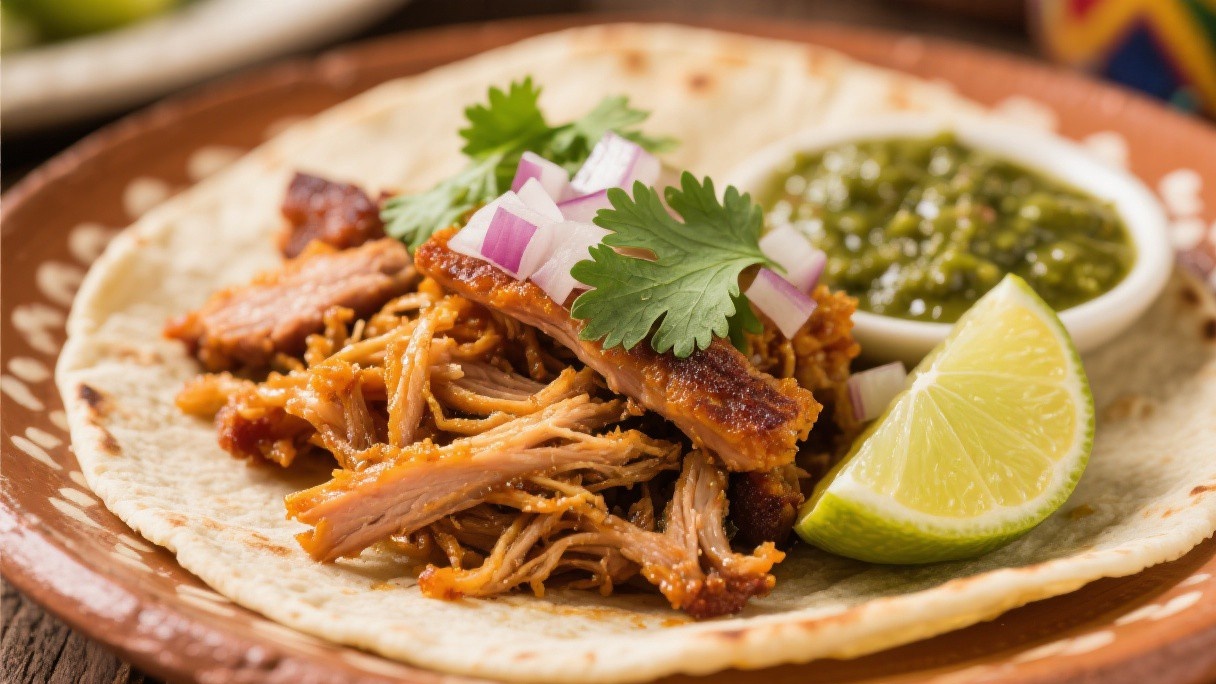
Mexican Carnitas: Crispy Pulled Pork Through Three-Stage Cooking
Discover the complete process of mexican carnitas with this in-depth guide covering essential techniques, key ingredients, and professional secrets. Key topics covered include selecting the pork and cutting strategy, stage one: simmering in fat and aromatics, stage two: reducing and frying, stage three: high heat for the crisp finish. This method eliminates the need to remove the pork from the pot at any stage, simplifying the process while producing superior texture. Selecting the Pork and Cutting Strategy I use pork shoulder, also called pork butt, with the skin on and a generous fat cap. A 2.5-kilogram piece of pork shoulder is ideal for a standard batch. I add 1 cup of water, 1 quartered white onion, 4 cloves of garlic, peeled, 2 bay leaves, and 1 teaspoon of dried oregano. The water is not a cooking liquid in the traditional sense; its purpose is to prevent the pork from scorching during the initial phase while the fat begins to render.
Read Details
March 8, 2026
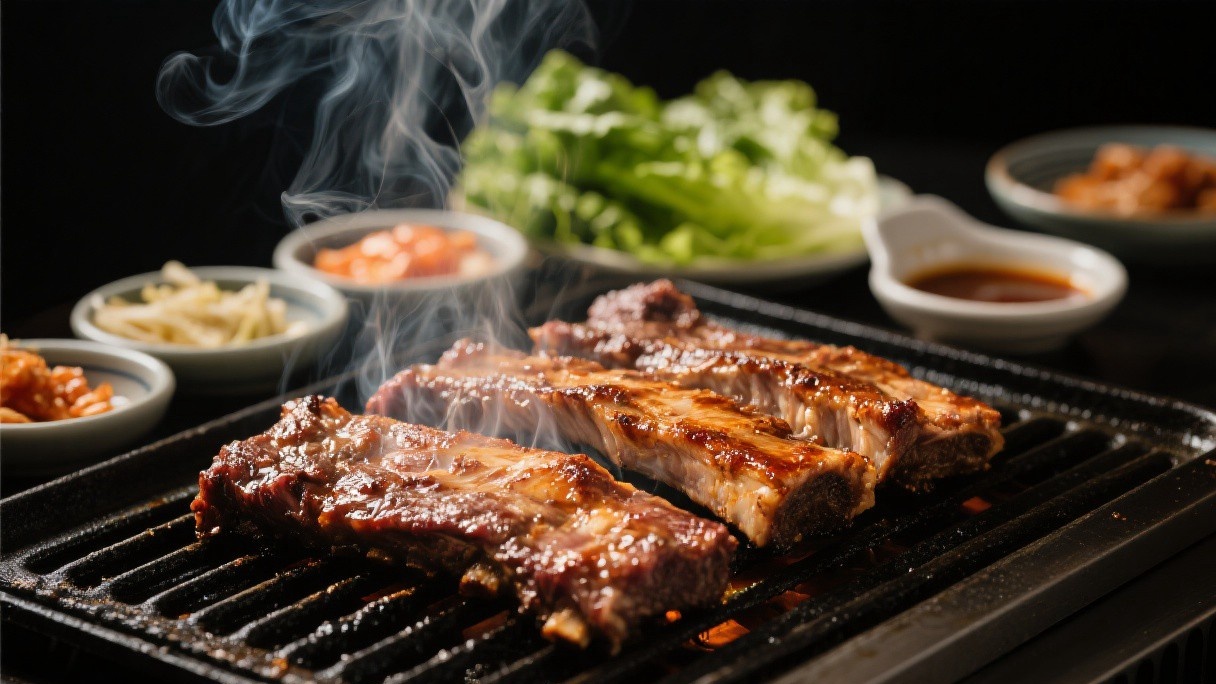
Korean BBQ Short Ribs: Marinade Caramelization and Grill Technique
This comprehensive guide explores korean bbq short ribs, providing detailed instructions and expert techniques for achieving professional-quality results at home. Key topics covered include selecting and preparing the short ribs, the marinade: soy, pear, and garlic, grill setup and heat management, cooking time and caramelization. I have grilled hundreds of orders of galbi over the years, and the combination of the sweet-savory marinade caramelizing on the grill and the tender, juicy meat beneath is remarkably satisfying things you can cook over fire. The marinade, the cut, and the grilling technique all work together, and each one matters. Selecting and Preparing the Short Ribs I ask the butcher for beef short ribs cut flanken-style across the bone, about 1 centimeter thick.
Read Details
March 6, 2026
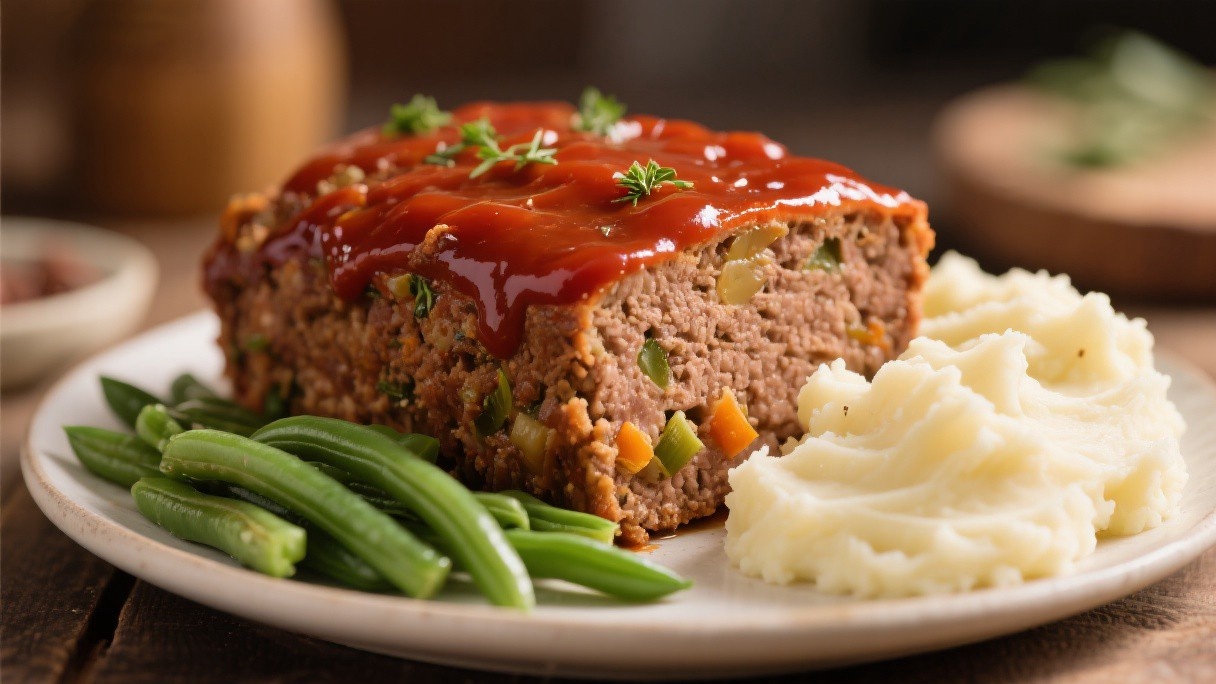
American Meatloaf: The Binder-to-Meat Ratio for Perfect Sliceability
Learn how to master american meatloaf with step-by-step instructions designed for home cooks seeking restaurant-quality results. Key topics covered include the meat blend: beef, pork, and veal, the binder: bread, milk, and eggs, flavor builders and seasoning, shaping and the glaze. After years of testing different ratios and techniques, I have found that the binder-to-meat ratio is the single most important variable in determining the texture of the finished loaf. The right amount of binder holds the meat together without making it gummy, while the wrong amount either produces a crumbly mess or a dense, bread-like texture that no longer tastes like meat. The Meat Blend: Beef, Pork, and Veal I use a blend of three ground meats for meatloaf: 500 grams of ground beef, 250 grams of ground pork, and 250 grams of ground veal.
Read Details