Mexican Mole Sauce: The Complex Layering of Dried Chiles and Spices
Recipe
|
March 7, 2026
Mexican Mole Sauce is a craft that rewards patience and attention to detail. Whether you are a curious beginner or an experienced cook looking to refine your technique, understanding the fundamentals transforms ordinary ingredients into something remarkable. The journey from raw materials to finished dish involves specific steps that, once mastered, become second nature.
Selecting and Toasting Dried Chiles
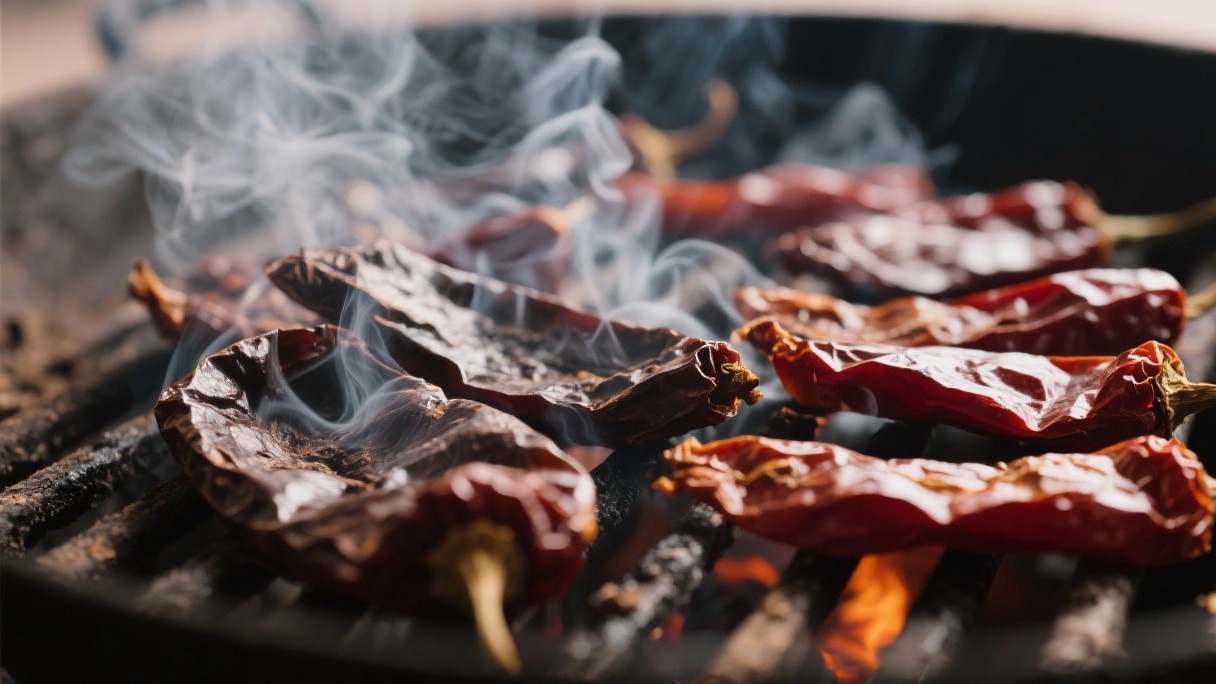
The chile profile defines the character of the mole. For a classic mole negro, I use a combination of chilhuacle negro, mulato, pasilla, and ancho chiles in roughly equal proportions, totaling about 200 grams. Each variety contributes a different note: the chilhuacle brings a smoky bitterness, the mulato adds dried fruit sweetness, the pasilla contributes earthiness, and the ancho rounds everything out with mild heat and a raisin-like flavor.
I stem and seed the chiles, tear them into flat pieces, and toast them on a dry comal over medium heat for about 30 seconds per side. The timing is narrow; if they blacken, they become acrid and unusable. Once toasted, I soak them in hot water for 25 minutes until fully pliable.
Burning the Spice Base to Create Depth
What distinguishes mole negro from other moles is the deliberate burning of certain ingredients. I char whole cloves, allspice berries, and black peppercorns in a dry skillet until they smoke heavily, then grind them to a fine powder. Separately, I toast sesame seeds, pumpkin seeds, and peanuts until they are deeply browned but not burnt.
A handful of tortilla pieces and a bolillo roll are also toasted until nearly black, which contributes both body and a subtle bitterness that balances the sweetness of the dried fruit. These toasted components are ground together in batches, adding small amounts of chicken broth to keep the mixture moving through the blender.
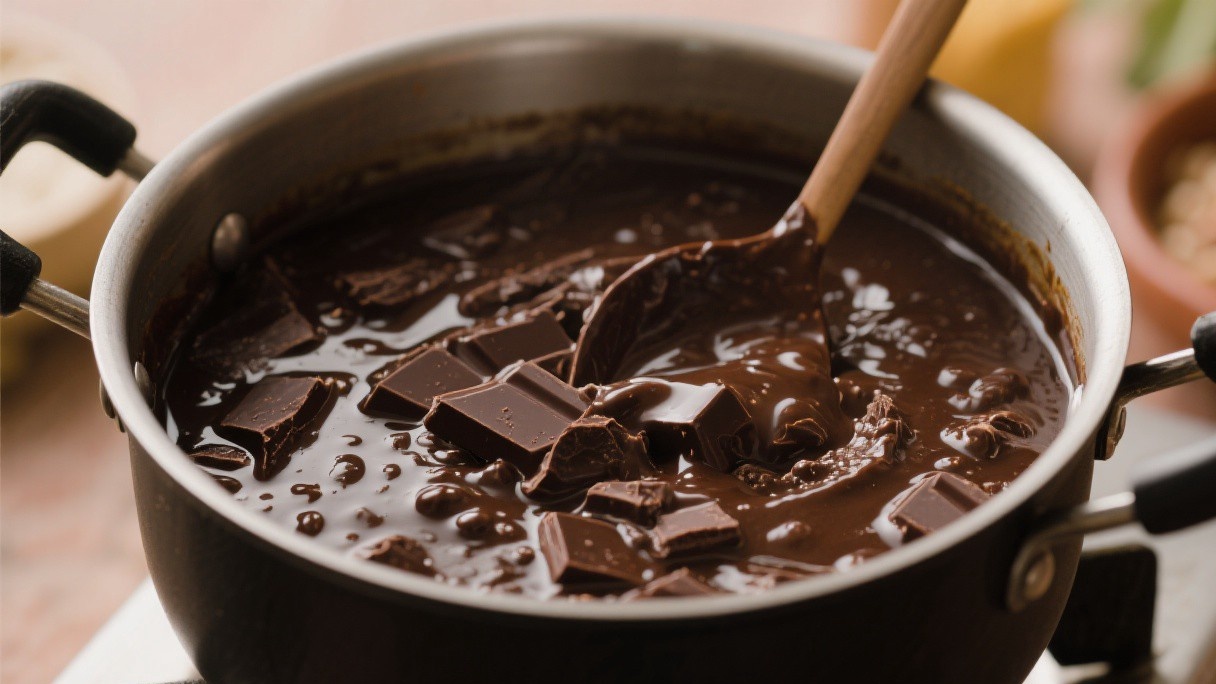
The Chocolate and Fruit Integration
Mole gets much of its body and sweetness from chocolate and dried fruit. I use Oaxacan chocolate tablets, which contain sugar, cinnamon, and cacao nibs ground together, rather than unsweetened baking chocolate. For a batch that yields roughly 1.5 liters of sauce, I add about 100 grams of chopped chocolate. Dried apricots, raisins, and plantains go into the blender raw; they break down during the long simmer and contribute natural sweetness along with a fruity acidity.
Some recipes call for a small amount of ripe banana as well, which I include when I want a slightly creamier texture. The chocolate should be added toward the end of the cooking process to prevent scorching.
Simmering and Straining for Silky Texture
After blending all the components into a thick paste, I thin it with about 1 liter of chicken broth and transfer it to a heavy-bottomed pot. The mole simmers over low heat for at least 90 minutes, stirring frequently to prevent sticking. As it cooks, the oil from the seeds and nuts rises to the surface and creates a glossy sheen. I season with salt at the very end, since the flavor concentration changes dramatically during reduction.
For a smooth, restaurant-quality texture, I pass the finished mole through a medium-mesh strainer using the back of a ladle, which removes any remaining seed fragments or chile skins. The sauce can be refrigerated for up to 5 days or frozen for several months.
Serving and Pairing with Proteins
Mole is traditionally served over turkey or chicken, but I find it equally compelling over pork shoulder that has been braised until tender. The sauce should be ladled generously, covering the protein completely, and served with fresh corn tortillas on the side. A sprinkle of toasted sesame seeds on top adds visual contrast and reinforces the nutty notes already present in the sauce.
Leftover mole, if you are fortunate enough to have any, makes an extraordinary filling for tamales or enchiladas the following day. The flavors continue to develop and meld overnight, so mole is always better on the second day than on the first.
Storing and Reheating Mole
Mole is one of those dishes that genuinely improves with time, which makes it ideal for preparing in large batches. I portion cooled mole into containers of about 500 milliliters each and refrigerate what I will use within 5 days. The rest goes into the freezer, where it keeps for up to 6 months. When reheating refrigerated mole, I add a splash of chicken broth and warm it gently over low heat, stirring frequently.
Frozen mole should be thawed overnight in the refrigerator before reheating. I have found that mole reheated on the second or third day has a rounder, more integrated flavor than the fresh version, because the individual spice notes have had time to meld. A thin layer of fat may rise to the surface after refrigeration; I stir it back in rather than discarding it, because that fat carries a significant portion of the flavor.
Practice builds confidence faster than any amount of reading. Keep a notebook of what works and what needs adjustment, and do not be afraid to deviate from the recipe once you understand the basics. The best cooks are those who learn from every batch, successful or not.