Mexican Carnitas: Crispy Pulled Pork Through Three-Stage Cooking
Meat
|
March 10, 2026
Carnitas, which translates to little meats, is a Mexican dish from the state of Michoacan that involves braising pork until tender and then crisping the exterior to create a contrast between the juicy interior and the shatteringly crisp exterior.
I have refined a three-stage cooking method that produces consistently excellent results: first, the pork simmers in its own fat with aromatics; second, the liquid reduces and the pork begins to fry in the rendered fat; third, the heat is increased to maximum to create the final crisp crust. This method eliminates the need to remove the pork from the pot at any stage, simplifying the process while producing superior texture.
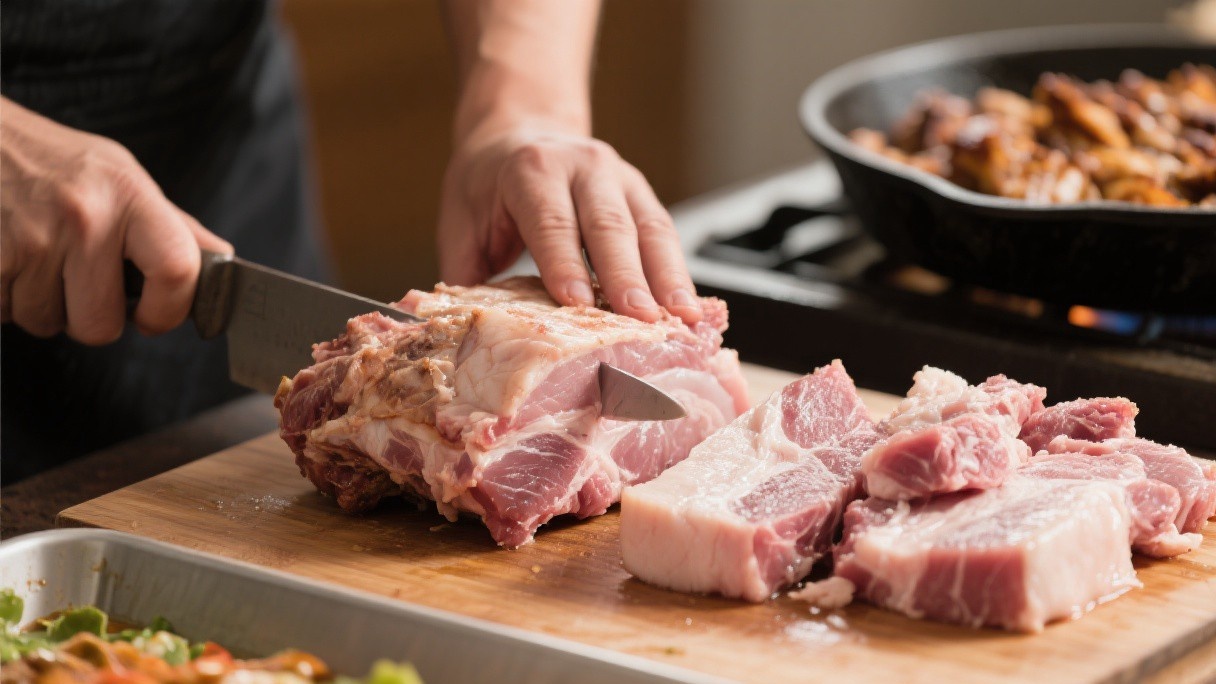
Selecting the Pork and Cutting Strategy
I use pork shoulder, also called pork butt, with the skin on and a generous fat cap. A 2.5-kilogram piece of pork shoulder is ideal for a standard batch. I cut the pork into 5-centimeter cubes, leaving the skin on some pieces and removing it from others. The skin-on pieces develop the crispiest texture during the final frying stage, while the skinless pieces are more uniformly tender.
I season the pork cubes generously with salt, about 1 tablespoon per kilogram, and let them sit at room temperature for 30 minutes before cooking. Some recipes call for adding orange juice or milk to the braising liquid, but I prefer a simpler approach that lets the flavor of the pork itself dominate.
Stage One: Simmering in Fat and Aromatics
I place the seasoned pork cubes in a large, heavy-bottomed pot or Dutch oven. I add 1 cup of water, 1 quartered white onion, 4 cloves of garlic, peeled, 2 bay leaves, and 1 teaspoon of dried oregano. The water is not a cooking liquid in the traditional sense; its purpose is to prevent the pork from scorching during the initial phase while the fat begins to render.
I bring the pot to a simmer over medium heat, then reduce to low, cover, and cook for 1.5 to 2 hours. During this time, the pork fat renders into the pot, the collagen breaks down, and the meat becomes extremely tender. I check the pot every 30 minutes and give it a gentle stir, being careful not to break the pork pieces apart.
Stage Two: Reducing and Frying
After the initial simmering, the pork should be tender and sitting in a mixture of rendered fat and a small amount of remaining liquid. I remove the lid, increase the heat to medium, and let the liquid cook off. As the water evaporates, the pork begins to fry in its own rendered fat. This stage takes about 30 to 40 minutes, and I stir the pork occasionally to ensure even browning.
The pork pieces begin to develop a golden-brown color on the edges, and the aroma shifts from braise to fry. I watch the pot carefully during this transition, because the line between frying and burning is narrow once the liquid has fully evaporated. The pork should be surrounded by about 1 centimeter of rendered fat at this stage.
Stage Three: High Heat for the Crisp Finish
Once the liquid has fully evaporated and the pork is frying in its own fat, I increase the heat to medium-high. I let the pork cook undisturbed for 3 to 4 minutes, then use tongs to flip the pieces and cook for another 3 to 4 minutes. I repeat this process two or three times, until the exterior of the pork pieces is deeply golden brown and crisp. The skin-on pieces develop an especially crunchy, crackling-like texture.
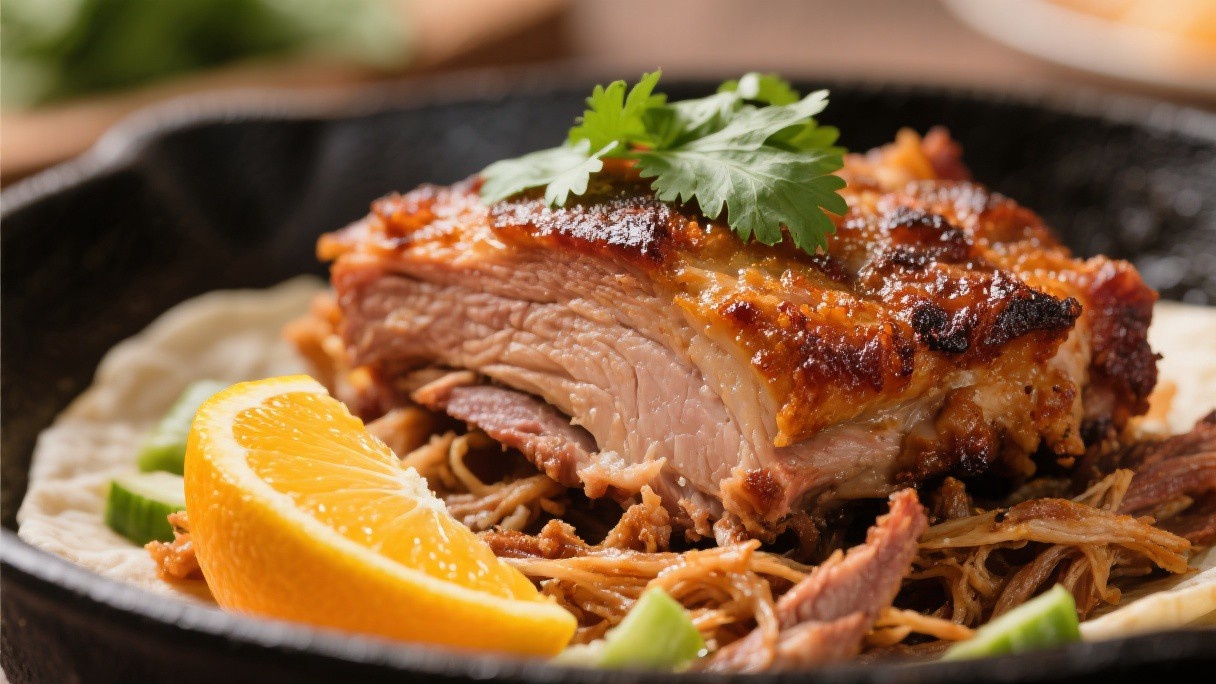
The total time for this final stage is about 10 to 15 minutes. I remove the pot from the heat and use a slotted spoon to transfer the carnitas to a sheet pan lined with paper towels, where they drain briefly. I shred some pieces with two forks for taco filling and leave others whole for people who prefer larger pieces.
Serving in Tacos with Salsa Verde
Carnitas are most commonly served in tacos, and I prepare small corn tortillas, about 10 centimeters in diameter, warmed on a dry comal until pliable and lightly spotted. I fill each tortilla with a portion of shredded carnitas and top with a spoonful of salsa verde, which I make by blending tomatillos, serrano peppers, cilantro, onion, and lime juice. I also serve diced white onion, chopped cilantro, and lime wedges on the side for additional garnish.
The contrast between the crisp, caramelized pork, the bright, acidic salsa, and the soft corn tortilla is what makes a great carnitas taco. Leftover carnitas reheat well in a skillet over medium heat, which restores the crispness of the exterior.
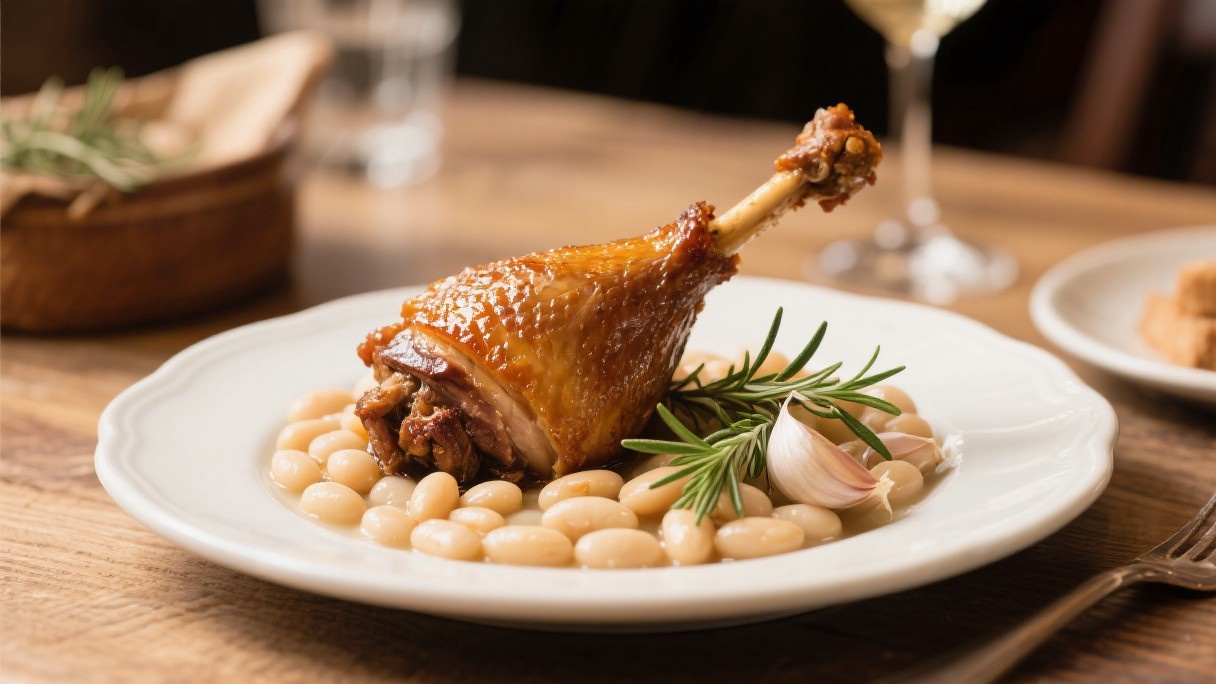
Choosing the Right Cut and Alternative Meats
While veal is traditional for ossobuco, I have also made excellent versions using beef shanks and pork shanks. Beef shanks are more widely available and less expensive than veal, and they produce a darker, more robust sauce with a deeper beefy flavor. The cooking time for beef shanks is about 30 minutes longer, because the meat is denser and the collagen requires more time to break down.
Pork shanks produce a lighter, slightly sweeter result that pairs well with white wine and root vegetables. Regardless of the protein, the shanks must be cross-cut with the bone exposed on both ends, and the meat should be at least 2.5 centimeters thick to withstand the long braising time without falling apart. I ask the butcher to cut the shanks to order, because the pre-cut shanks found in supermarket meat cases are often too thin and cook through too quickly.
Share what you make with friends and family. Cooking is meant to be enjoyed communally, and feedback from others helps you improve faster than tasting alone. Plus, the act of serving something you made from scratch is one of the most rewarding experiences a home cook can have.