The Art of Homemade Sourdough: A Beginner's Journey to Crusty Perfection
Recipe
|
March 2, 2026
Learning to make Art of Homemade Sourdough at home is one of the most satisfying culinary projects you can undertake. The process connects you to centuries of tradition while giving you room to develop your own style. Each attempt teaches you something new about ingredients, timing, and technique, building confidence with every batch.
Sourdough Starter Maintenance
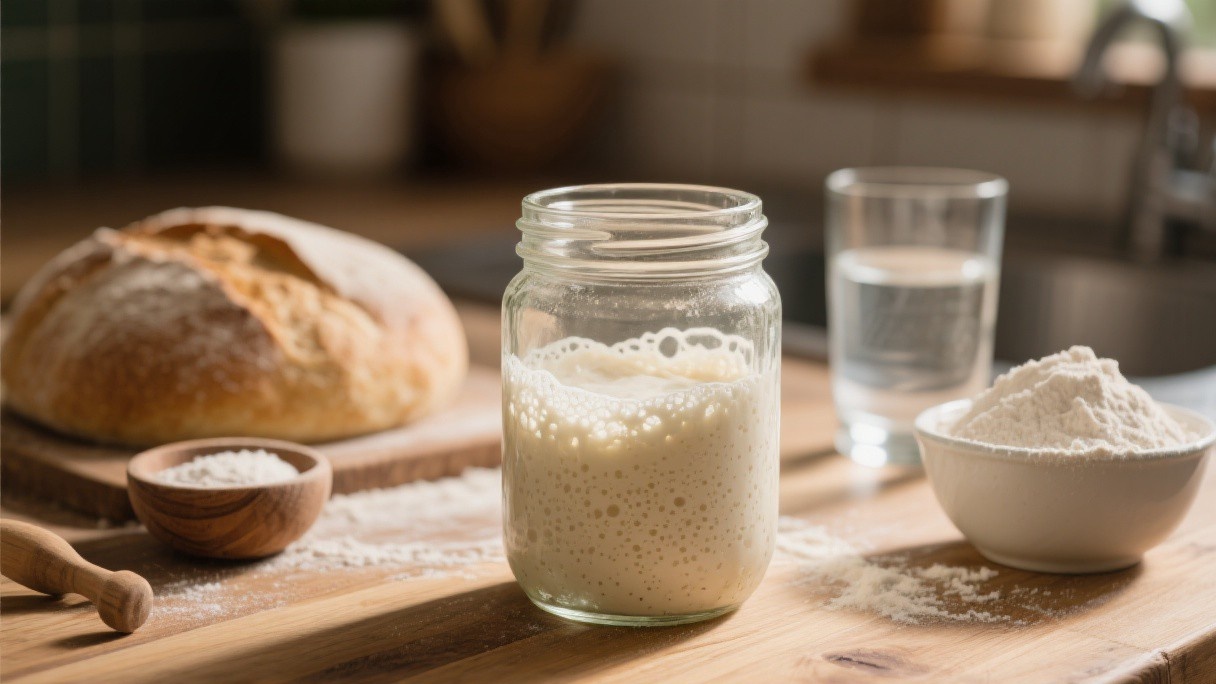
A healthy, active starter is the foundation of every great sourdough loaf. This living culture of wild yeast and bacteria requires patience and attention, but the rewards are immeasurable. Unlike commercial yeast, which provides a quick, predictable rise, sourdough starter brings complex flavors and better digestibility to your bread.
Creating your starter from scratch takes about 7-10 days. You'll need equal parts flour and water by weight, mixed daily until you see consistent bubbling and doubling in size. The temperature of your kitchen matters—warmer environments (75-80°F) accelerate fermentation, while cooler temperatures slow it down.
📷 Sourdough bread making process
The Autolyse Method
The autolyse process is a technique that significantly improves dough quality. By mixing flour and water and letting them rest before adding salt and starter, you allow the flour to fully hydrate and gluten development to begin naturally. This results in a more extensible dough that's easier to shape and produces better oven spring.
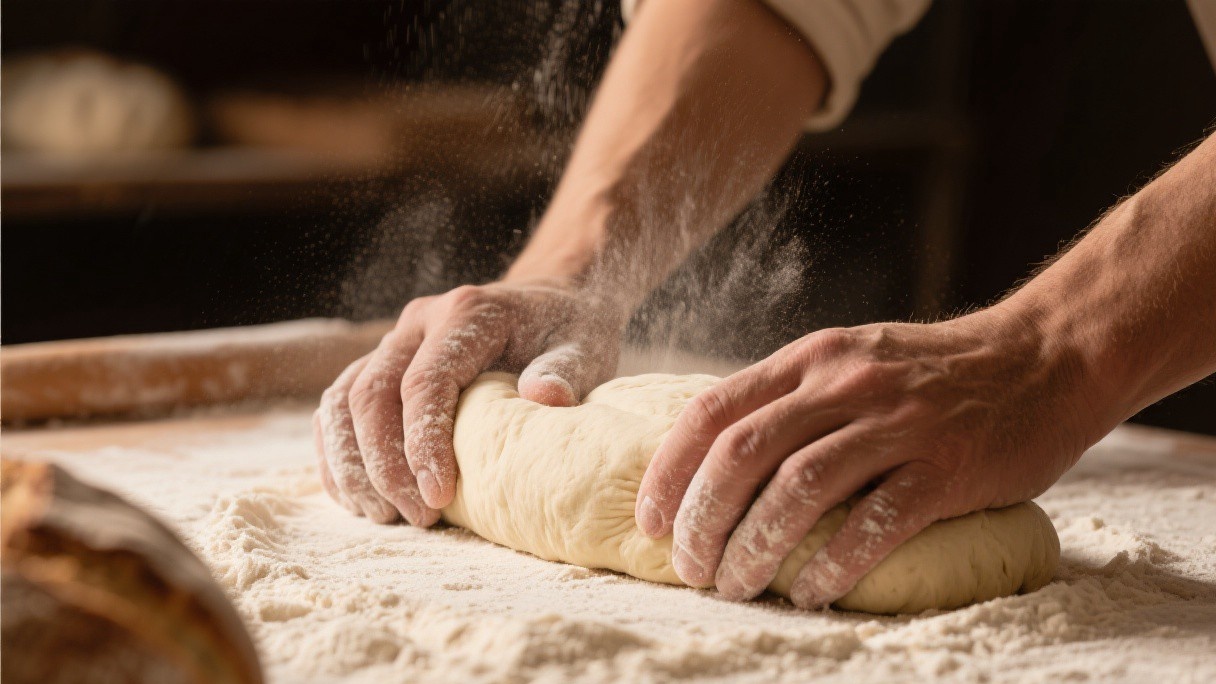
Shaping and Scoring
Proper shaping creates surface tension, which helps your loaf hold its structure during the final rise. The scoring cut isn't just decorative—it controls how the bread expands in the oven. A single, confident slash at a 45-degree angle works better than multiple shallow cuts.
📷 Sourdough bread slice showing crumb
Baking Technique
Steam is essential for that coveted crispy crust. Professional bakeries use steam-injected ovens, but home bakers can achieve similar results using a Dutch oven or by adding ice cubes to a preheated pan. The steam keeps the crust soft during the initial baking phase, allowing the bread to expand fully before the crust sets.
Remember, sourdough baking is as much about intuition as it is about following recipes. Each loaf teaches you something new about your starter, your environment, and your technique. Embrace the imperfections—they're what make handmade bread so special.
Daily Routine
Every morning, I feed your starter with equal parts flour and water, watching for those telltale bubbles that signal active fermentation. This ritual has become as essential as your morning coffee. you've learned to read your starter's moods—sometimes it's sluggish in winter, sometimes explosive in summer heat. Understanding these rhythms took months of observation, but now I can predict exactly when it will be ready for baking.
Troubleshooting Your Dough
I overproofed your dough countless times, waiting for it to double when it had already peaked and started to collapse. I used cold starter straight from the refrigerator, wondering why your loaves were dense. I didn't score deeply enough, causing your bread to burst in unpredictable ways. Each unsatisfactory outcome taught you something crucial about timing, temperature, and technique.
Flour Selection and Hydration
The type of flour you choose dramatically affects your sourdough outcome. Bread flour with 12-14% protein creates stronger gluten networks, resulting in better oven spring and a more open crumb structure. Whole wheat flour adds nutritional value and complex, nutty flavors, but it also absorbs more water, so hydration adjustments are necessary. I typically blend 80% bread flour with 20% whole wheat for a balanced loaf that has both structure and depth of flavor.
Troubleshooting Common Sourdough Problems
Remarkably frequent issues beginners face is dough that spreads rather than rises during baking. This usually indicates over-fermentation or weak gluten development. If your loaf comes out gummy inside, the interior temperature likely did not reach 205-210 degrees Fahrenheit. Using a digital thermometer to verify doneness takes the guesswork out of the process. Dense loaves often result from under-developed gluten during the kneading or stretch-and-fold phase.
Sourdough Discard Recipes
Maintaining a healthy starter means discarding a portion during each feeding, but this discard is far from waste. Sourdough discard adds tangy flavor and extra fermentation benefits to pancakes, waffles, and muffins. It can be stored in the refrigerator for up to a week and used in recipes that do not require the starter to be active.
Crackers made from sourdough discard, olive oil, and flaky sea salt have become remarkably popular uses, offering a crispy, savory snack that makes the feeding routine feel productive rather than wasteful.
Flavor Additions and Variations
Once the basic sourdough loaf is mastered, adding mix-ins opens a world of creative possibilities. Roasted garlic and rosemary folded into the dough during the final stretch creates an aromatic bread perfect for dipping in olive oil. Cheddar cheese and jalapeno pieces produce a savory, slightly spicy loaf that disappears quickly at gatherings. Dried cranberries and toasted walnuts make an excellent autumn variation.
The critical factor is to add these ingredients during the last fold before shaping, distributing them evenly without tearing the developed gluten structure.
Serving and Storing Fresh Bread
Sourdough bread is best consumed within twenty-four hours of baking, when the crust is at its crispiest and the crumb is most open and tender. Storing cut-side down on a cutting board keeps the crumb soft without sacrificing the crust. Avoid plastic bags, which turn the crust chewy and soft. For longer storage, slice the cooled loaf and freeze in a sealed bag, then toast individual slices directly from frozen.
This method preserves the flavor and texture remarkably well, making it easy to enjoy quality sourdough even on busy mornings.
Temperature, timing, and ingredient quality are the three pillars that hold everything together. Master those, and variations become easy. Try different combinations, adjust seasonings to your preference, and make the recipe your own. That is how personal cooking traditions are born.