Creamy Homemade Ice Cream Without a Machine: The Science of No-Churn Success
Dessert
|
February 26, 2026
Understanding Creamy Homemade Ice Cream Without a Machine opens up a world of culinary possibilities that most home cooks never explore. The difference between average results and exceptional ones comes down to a handful of key techniques, the right ingredients, and a willingness to practice. This guide covers everything you need to know to get started and improve with each attempt.
The No-Churn Science
Traditional ice cream relies on constant agitation during freezing to incorporate air and prevent large ice crystals. No-churn ice cream skips the churn by using sweetened condensed milk (which stays liquid at freezing temperatures) and whipped cream (which provides the creamy body). The result mimics traditional texture without the equipment.
Whipping Cream Fundamentals
Heavy whipping cream must be cold when whipped—straight from the refrigerator. Whip just to soft peaks, not stiff. Stiff peaks mean dense, buttery ice cream; soft peaks create lighter, smoother texture. Use a large bowl and clean beaters; any fat contamination prevents proper whipping.
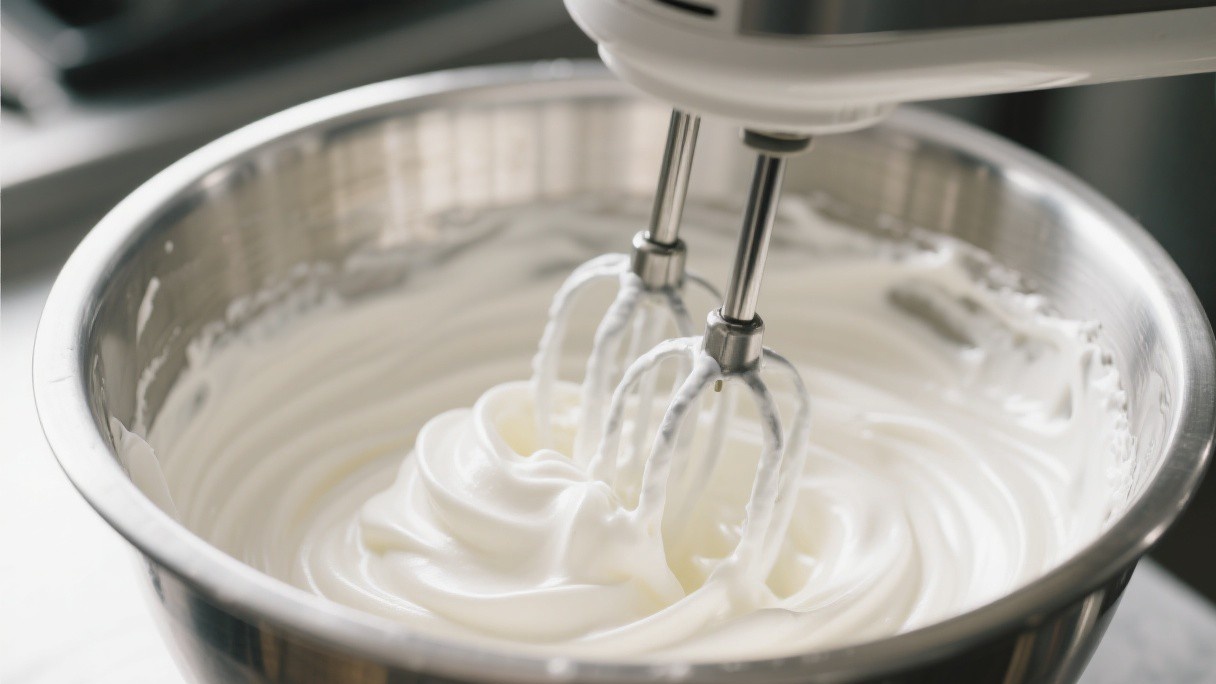
📷 Homemade vanilla ice cream
Folding Technique
The moment you combine condensed milk and whipped cream determines your ice cream's texture. Fold gently, using a large spatula and wide sweeping motions. Don't stir—that deflates the cream. The goal is to maintain as much air as possible while ensuring complete integration. Stop when no white streaks remain.
Flavor Infusions and Add-Ins
No-churn ice cream accepts endless variations. Steep vanilla beans in warm cream before condensing; swirl in fruit purees or chocolate sauce; fold in crushed cookies or chopped candy; add cocoa powder for chocolate. For best texture, fold in add-ins during the final folding stage, preserving the whipped structure.
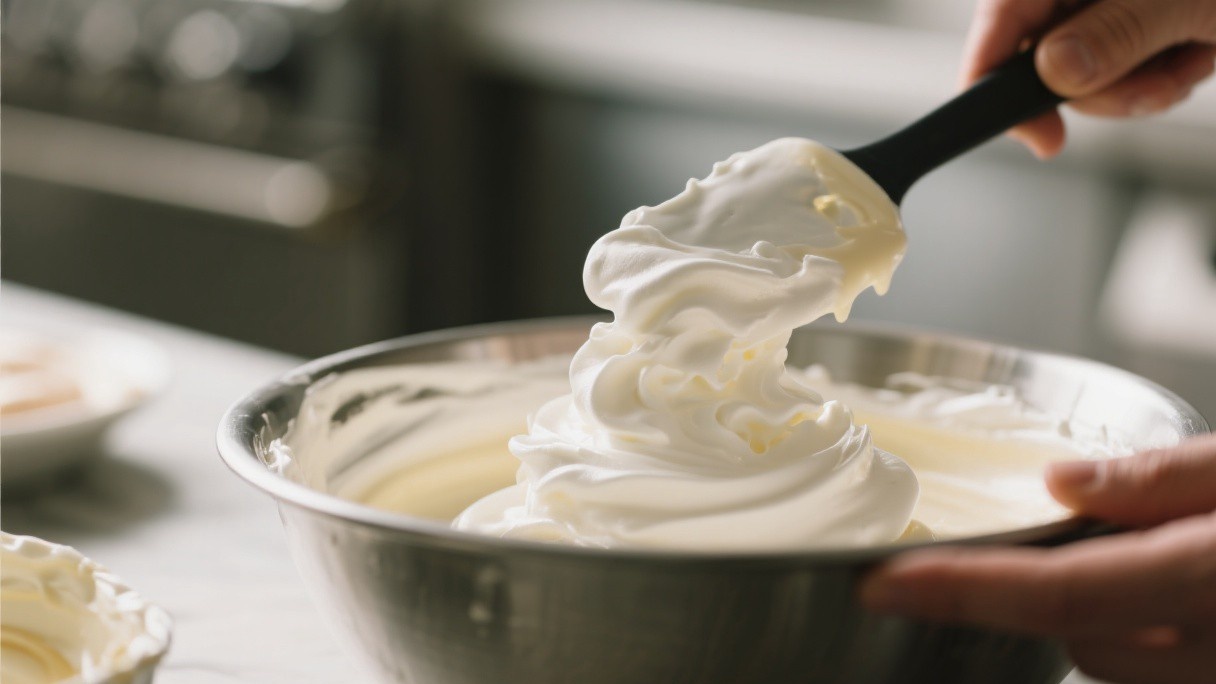
📷 Scooping ice cream
Freeze in a shallow container for 6 hours or overnight. The ice cream firms up but remains scoopable directly from the freezer—no tempering required. This simplicity and reliability make no-churn ice cream the perfect gateway to homemade frozen desserts.
Flavor Development
I started with vanilla, then expanded to more adventurous combinations. Brown butter pecan, honey lavender, olive oil with sea salt—each recipe taught me about balance and texture. Some flavors did not achieve the desired result spectacularly; others became instant classics.
Storage Solutions
I learned to store ice cream properly, pressing plastic wrap directly onto the surface to prevent ice crystals. Proper storage extends freshness, maintaining that just-churned texture for weeks rather than days.
Sweetened Condensed Milk as the Base
The magic of no-churn ice cream lies in sweetened condensed milk, which provides both sweetness and the sugar structure that prevents large ice crystals from forming during freezing. Whipping heavy cream until stiff peaks form incorporates the air that gives ice cream its light, creamy texture. When these two components are gently folded together,. This produces a base that freezes into a smooth, scoopable dessert without the need for an ice cream machine or any churning during the freezing process.
Flavor Variations and Mix-In Timing
The no-churn method accommodates an enormous range of flavors and add-ins. Cocoa powder folded into the condensed milk before combining with cream creates a rich chocolate base. A teaspoon of vanilla extract and a handful of chocolate chips produce a classic vanilla chip. For fruit flavors, swirl in fruit puree or jam after the base is in the freezing container, creating ribbons of concentrated flavor.
Crushed cookies, toasted nuts, and caramel sauce should be folded in just before transferring to the freezer to prevent them from sinking to the bottom.
Achieving the Perfect Texture
The texture of no-churn ice cream depends entirely on the whipping technique used for the cream. The heavy cream must be whipped to stiff peaks but not beyond, as over-whipped cream can turn grainy and separate. Folding the condensed milk into the whipped cream should be done gently with a spatula, using a bottom-to-top motion that preserves as much of the incorporated air as possible.
A few streaks of condensed milk visible in the mixture are preferable to over-mixing, which deflates the cream and produces a denser, icier final product. Patience during this folding step is the key to achieving the light, creamy texture that makes no-churn ice cream so appealing.
No-Churn Ice Cream for Special Diets
The no-churn method can be adapted for various dietary restrictions without sacrificing the creamy, satisfying texture. Coconut cream whipped to stiff peaks replaces heavy cream for a dairy-free version, with coconut condensed milk providing sweetness. For a lower-sugar alternative, sweetened condensed milk can be replaced with a blend of evaporated milk and a sugar substitute, though the texture may be slightly less creamy. Sugar-free condensed milk products are also available commercially.
These adaptations ensure that dietary restrictions do not prevent anyone from enjoying the simple pleasure of homemade ice cream.
Serving and Storing Tips
No-churn ice cream benefits from a proper freezing and serving protocol. The mixture should be frozen in a loaf pan or airtight container for at least six hours, though overnight produces the firmest, most scoopable texture. Pressing plastic wrap directly against the surface before freezing prevents ice crystals from forming. When serving, allow the container to sit at room temperature for five to ten minutes before scooping.
A warm ice cream scoop dipped in hot water between scoops produces the cleanest, most attractive portions. Properly stored, no-churn ice cream maintains its quality for up to two months in the freezer.
The no-churn method removes the biggest barrier to homemade ice cream. Start with a simple vanilla base, then experiment with add-ins like crushed cookies, fruit swirls, or chocolate chunks. Your freezer becomes a limitless flavor laboratory.